The studio continues to develop (with the help of the world’s best studio assistant: my mother!), one day at a time! Most of the big projects are behind us at this point, thankfully. Only the sanding and sealing of drawing horses remains before the monumental task of post-construction cleanup, and finally…moving in!!! Label maker, here I come… :D (I might be the only artist ever to actually enjoy this device.)
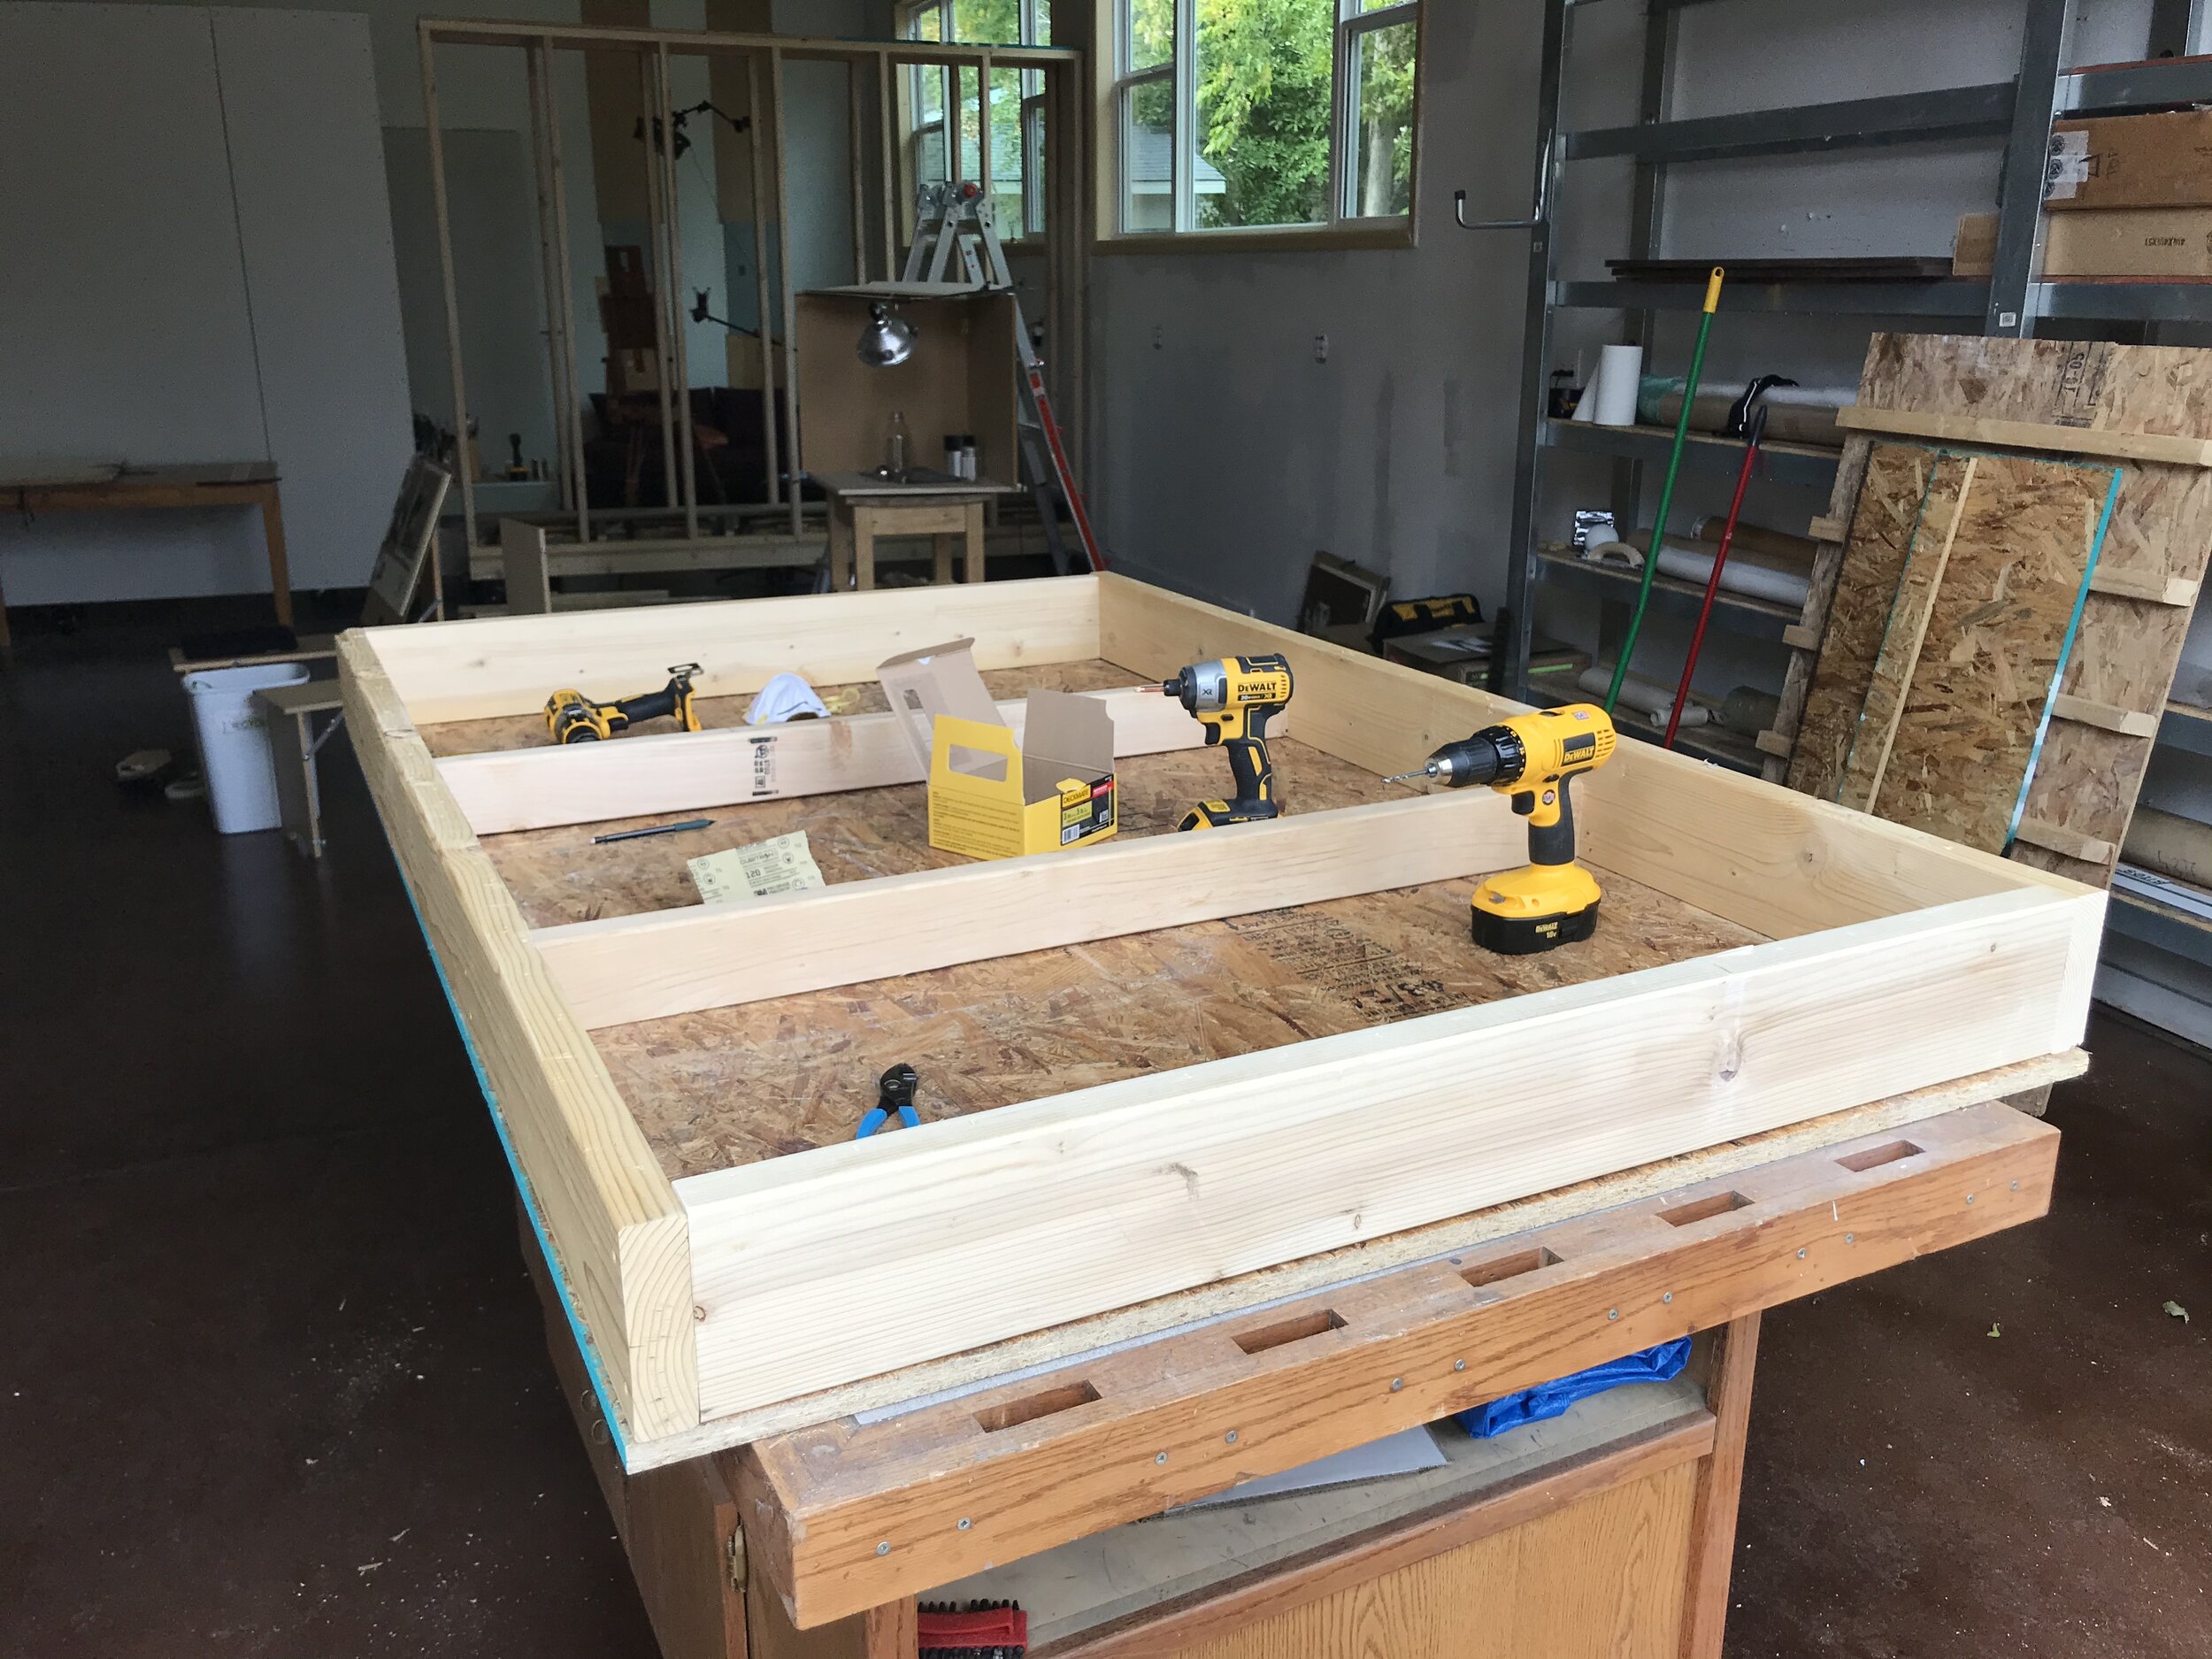
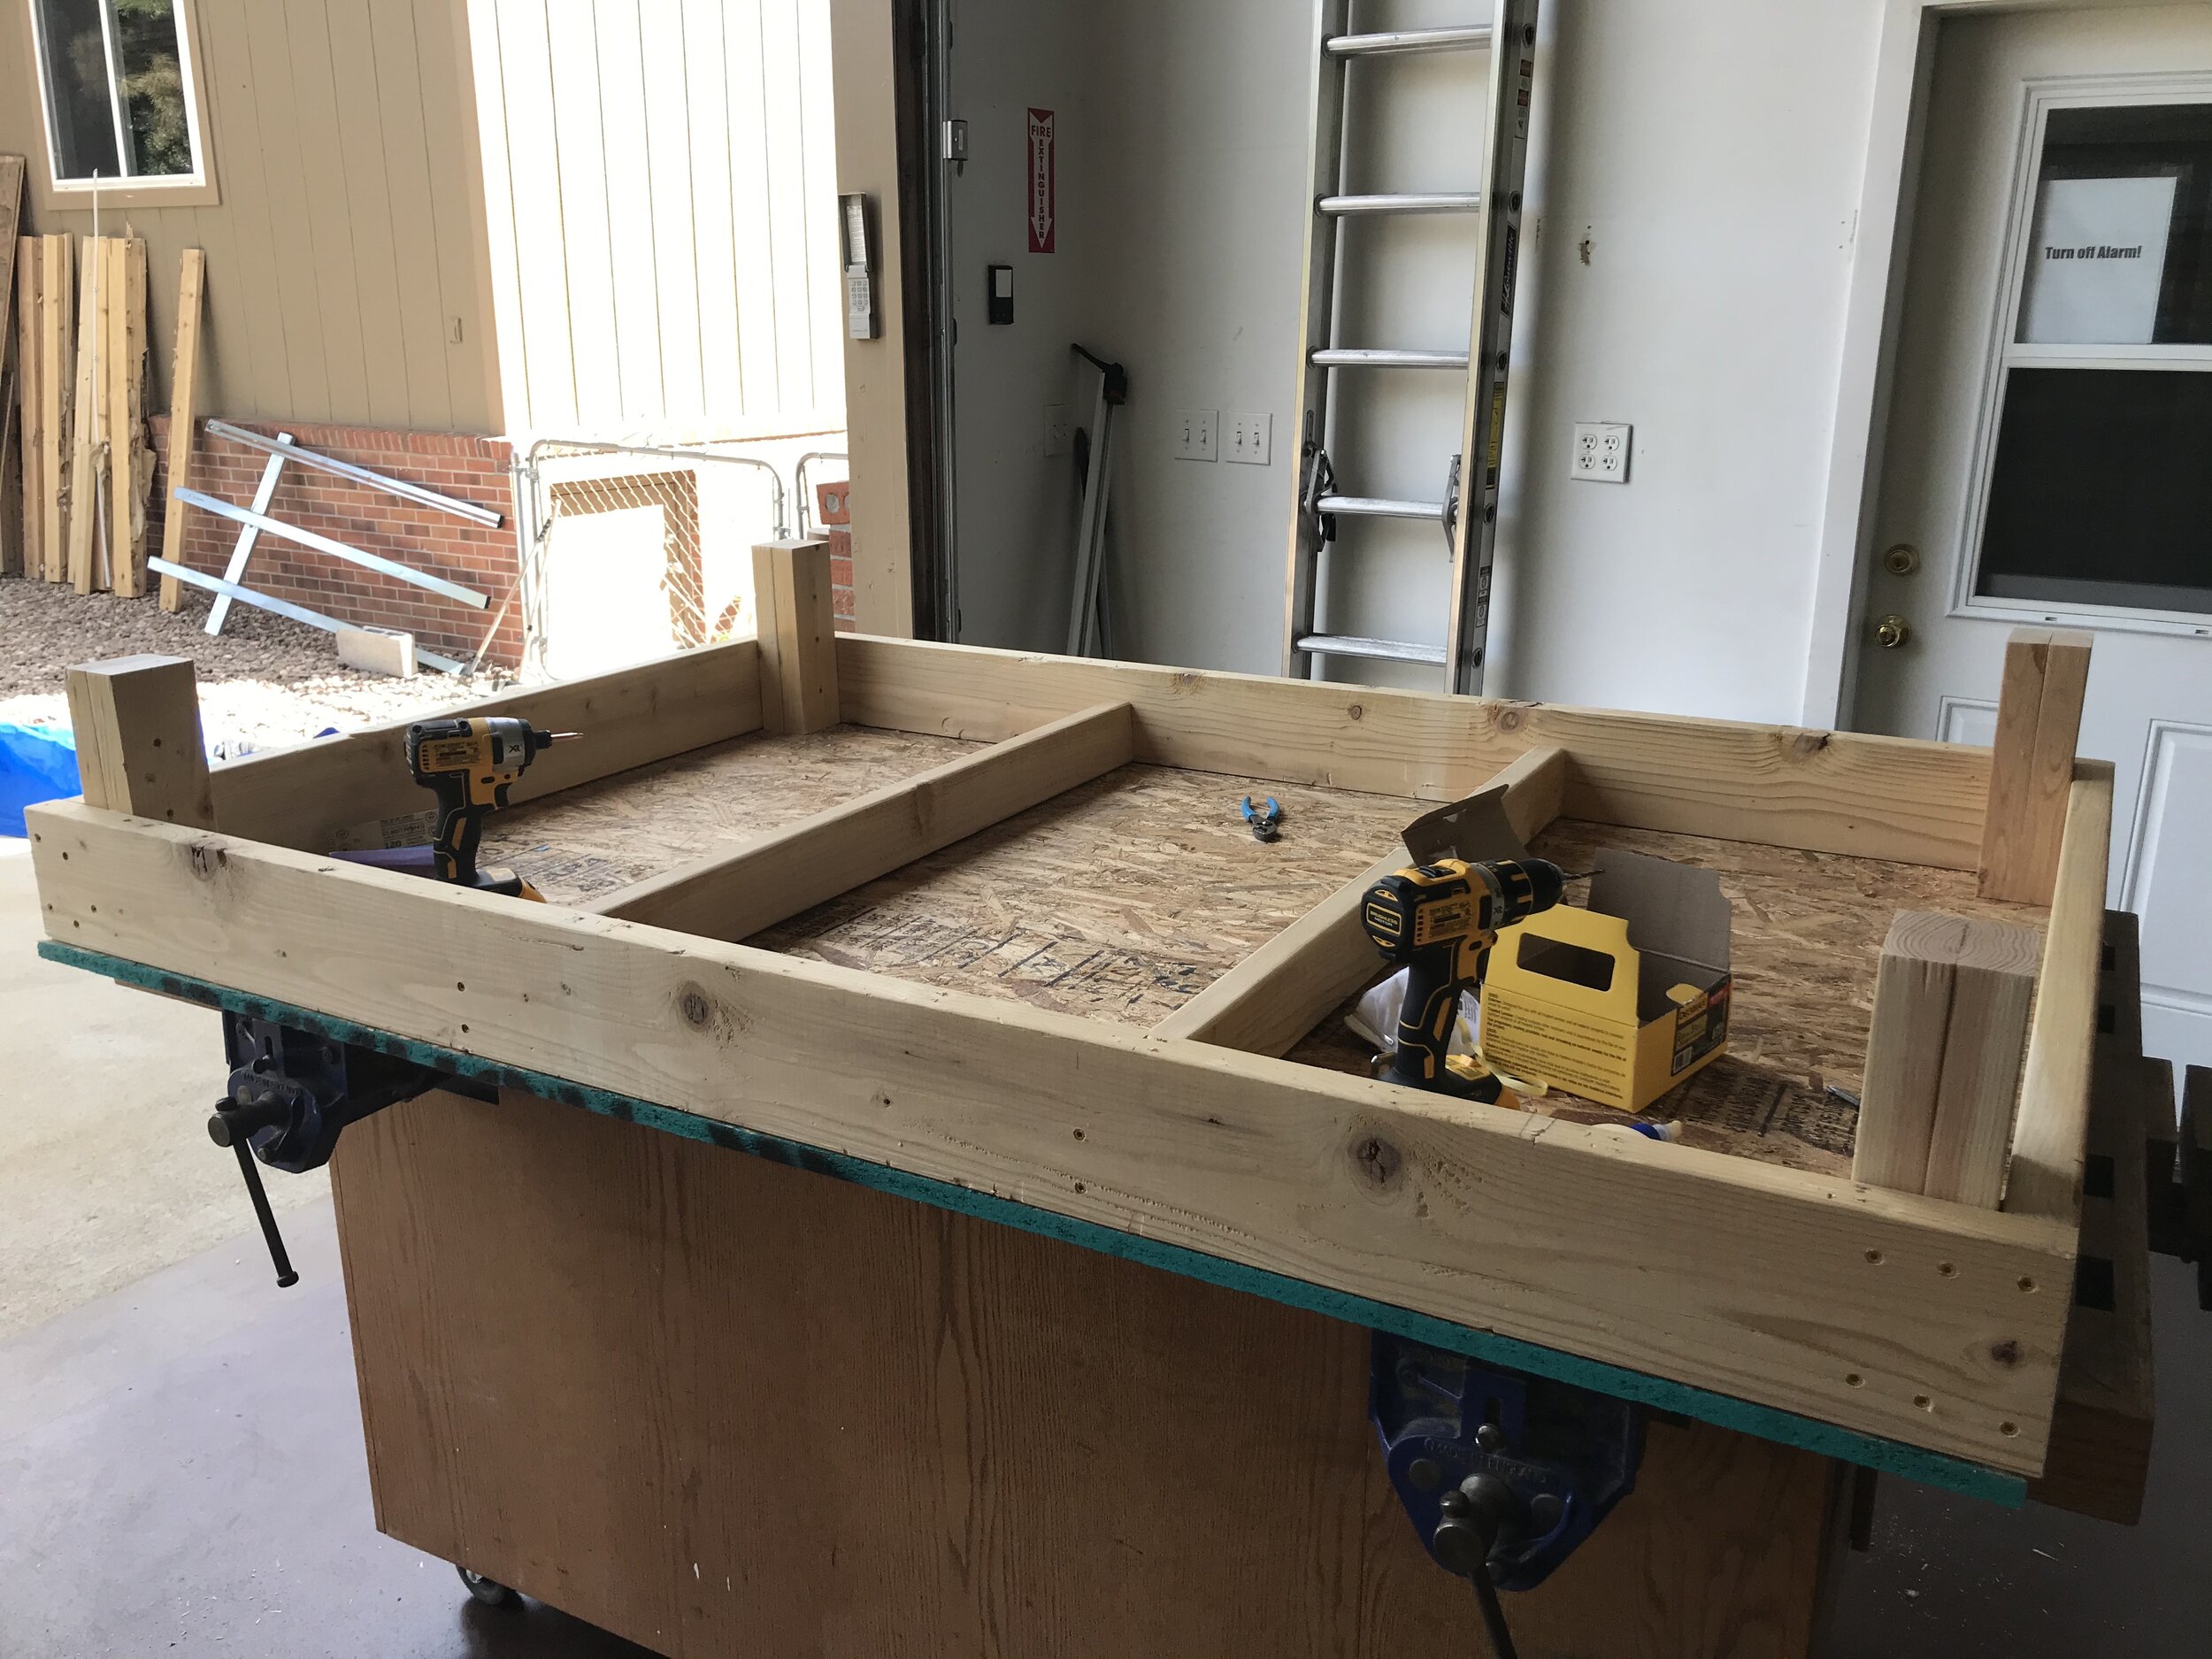
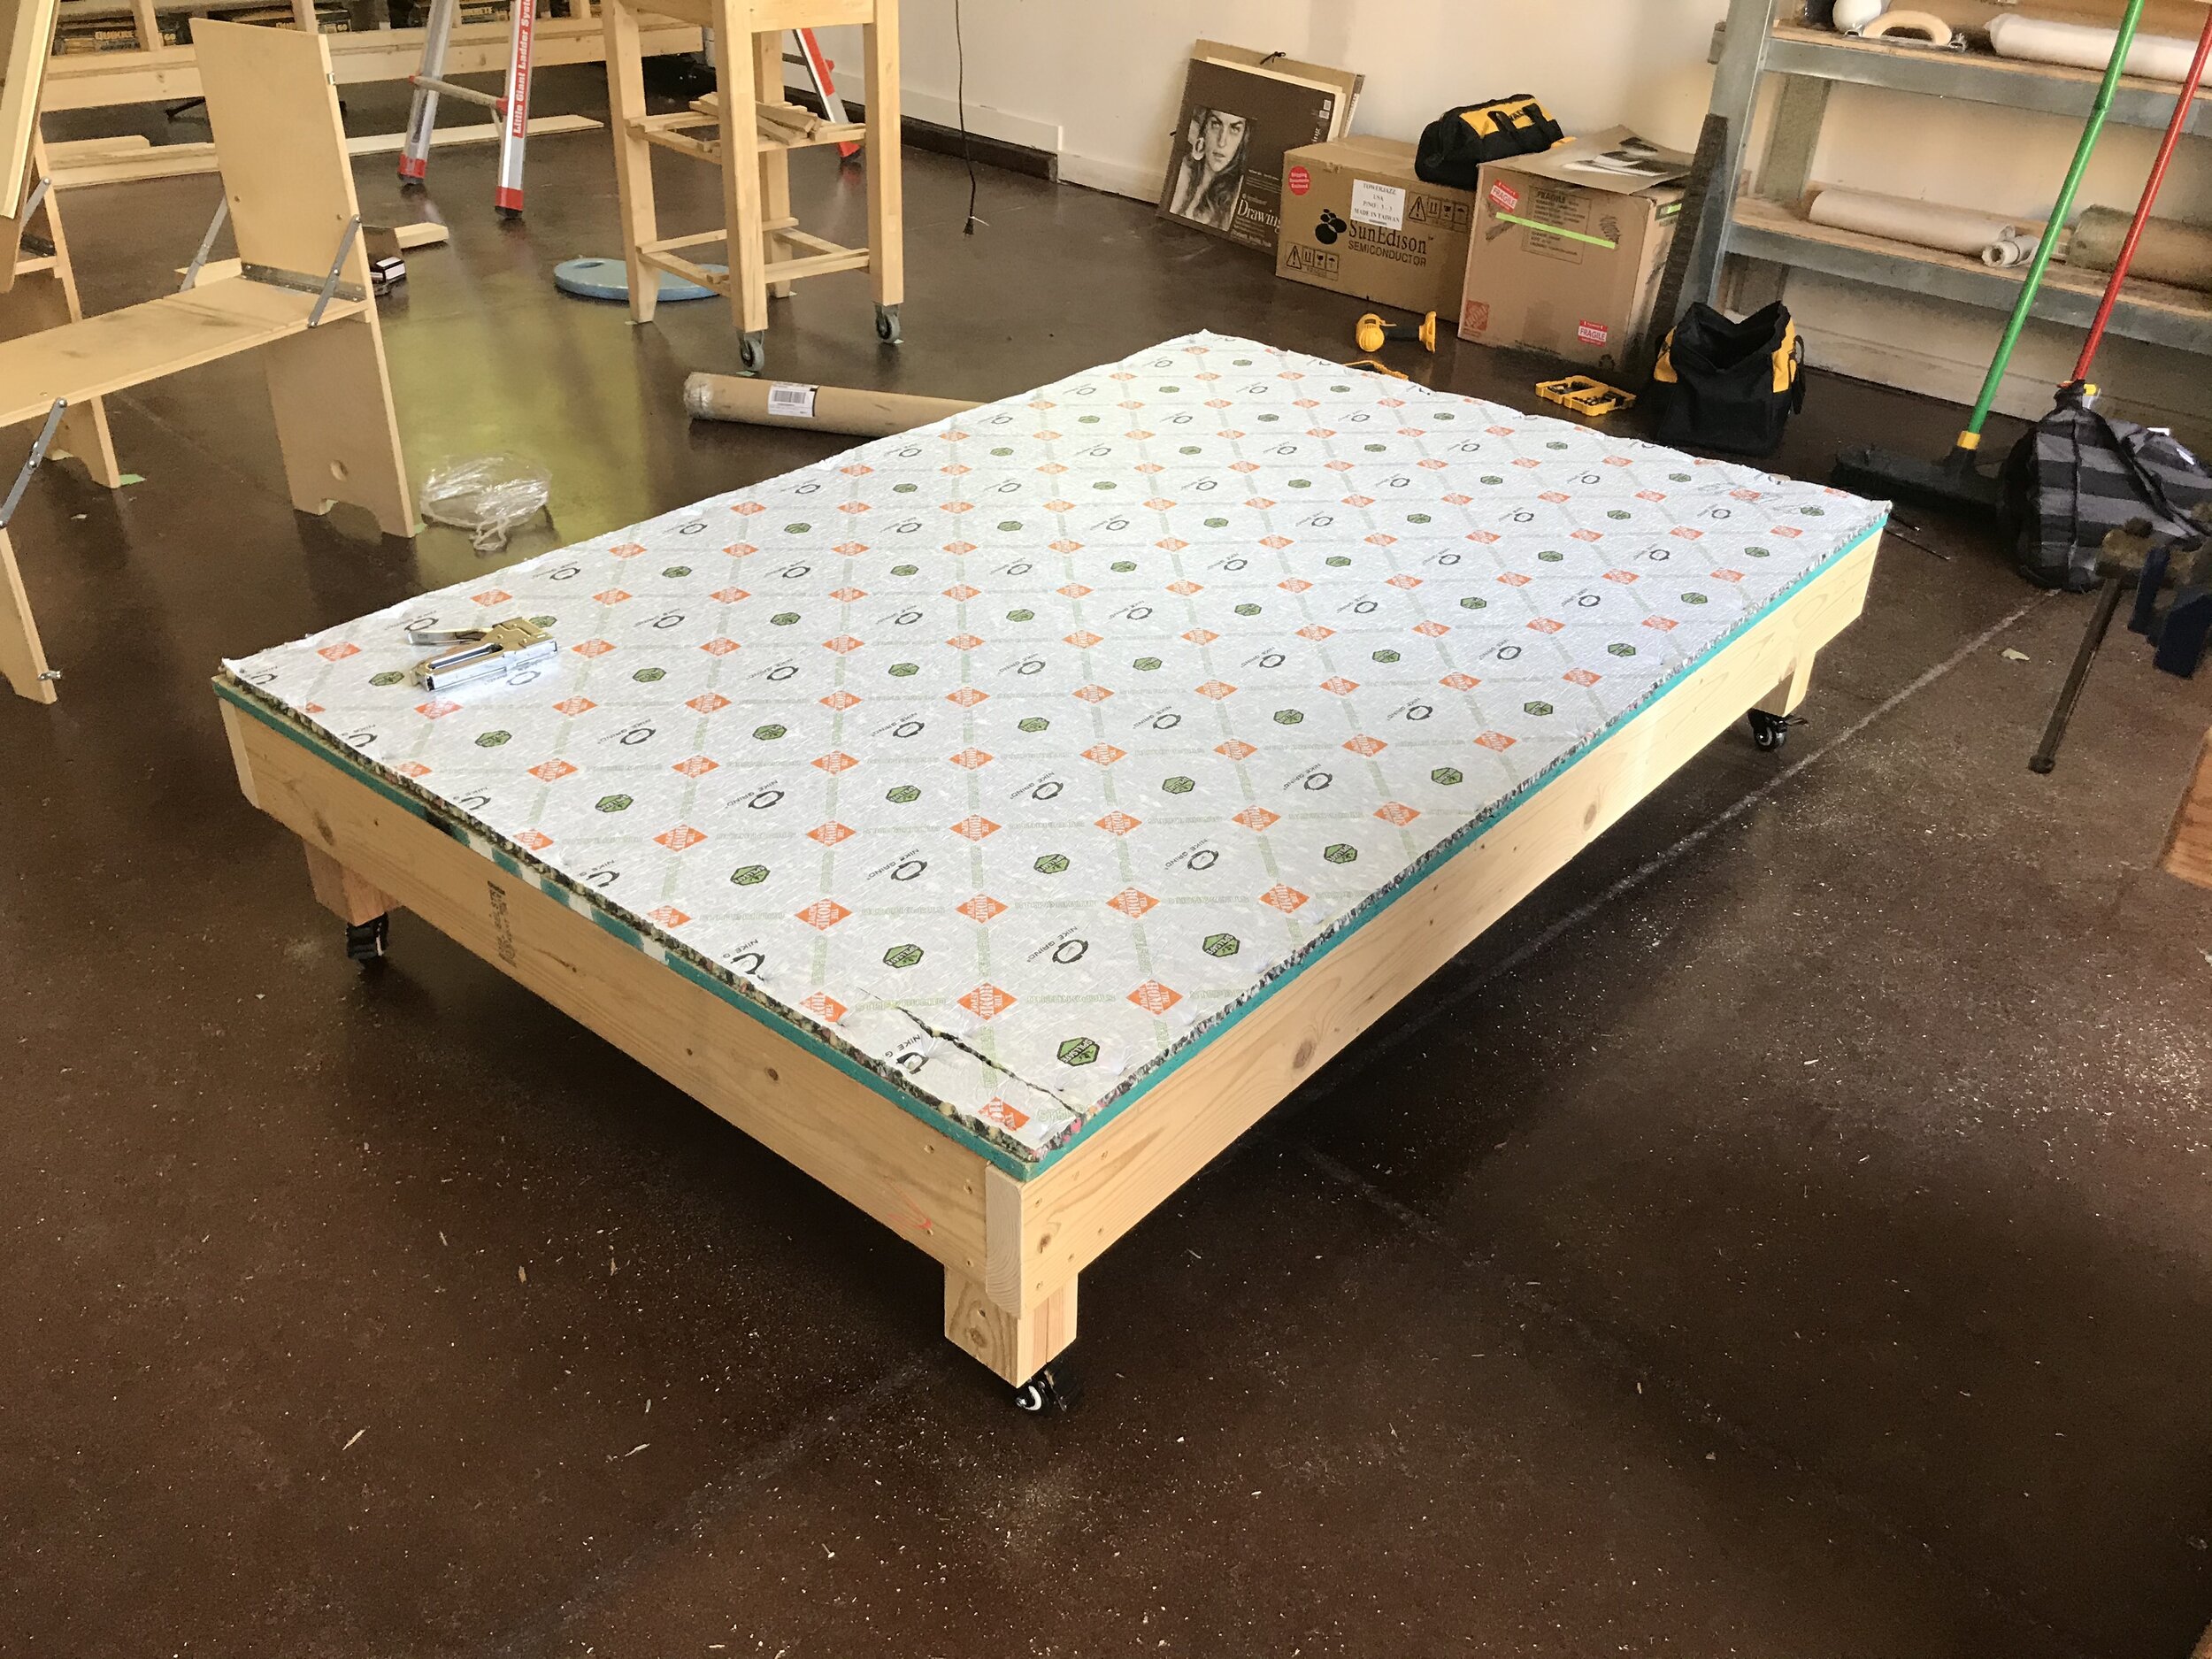
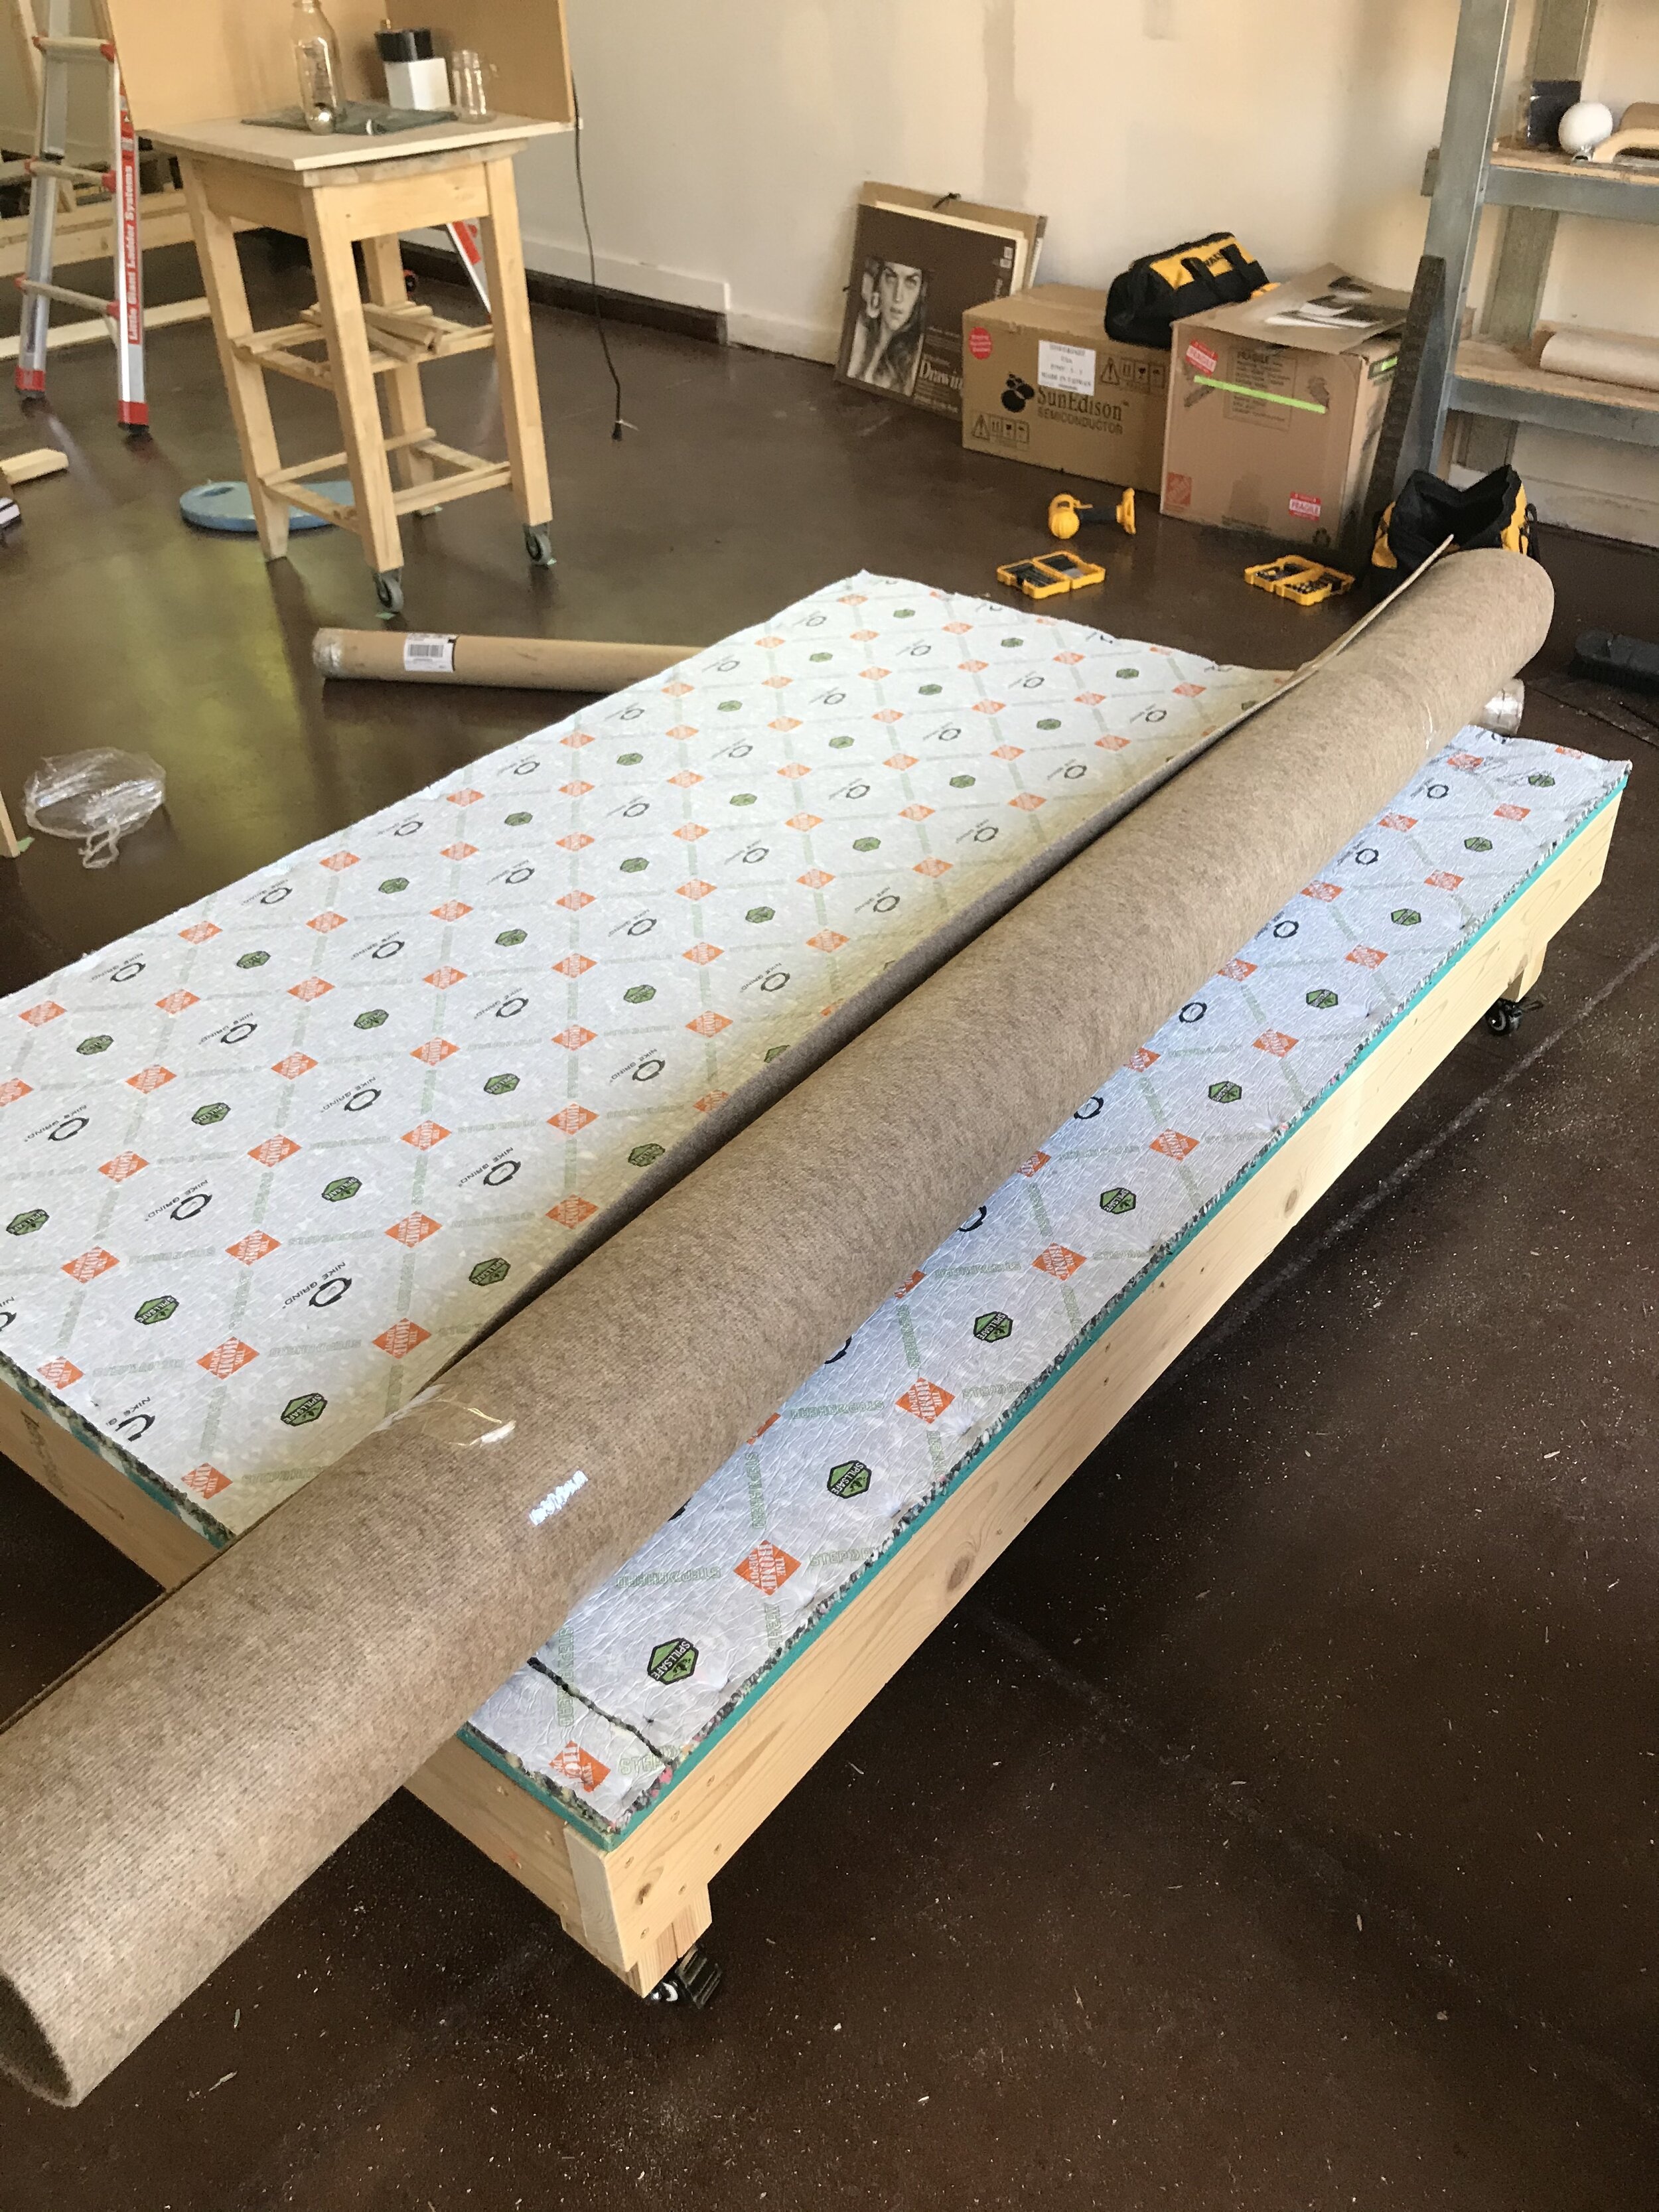
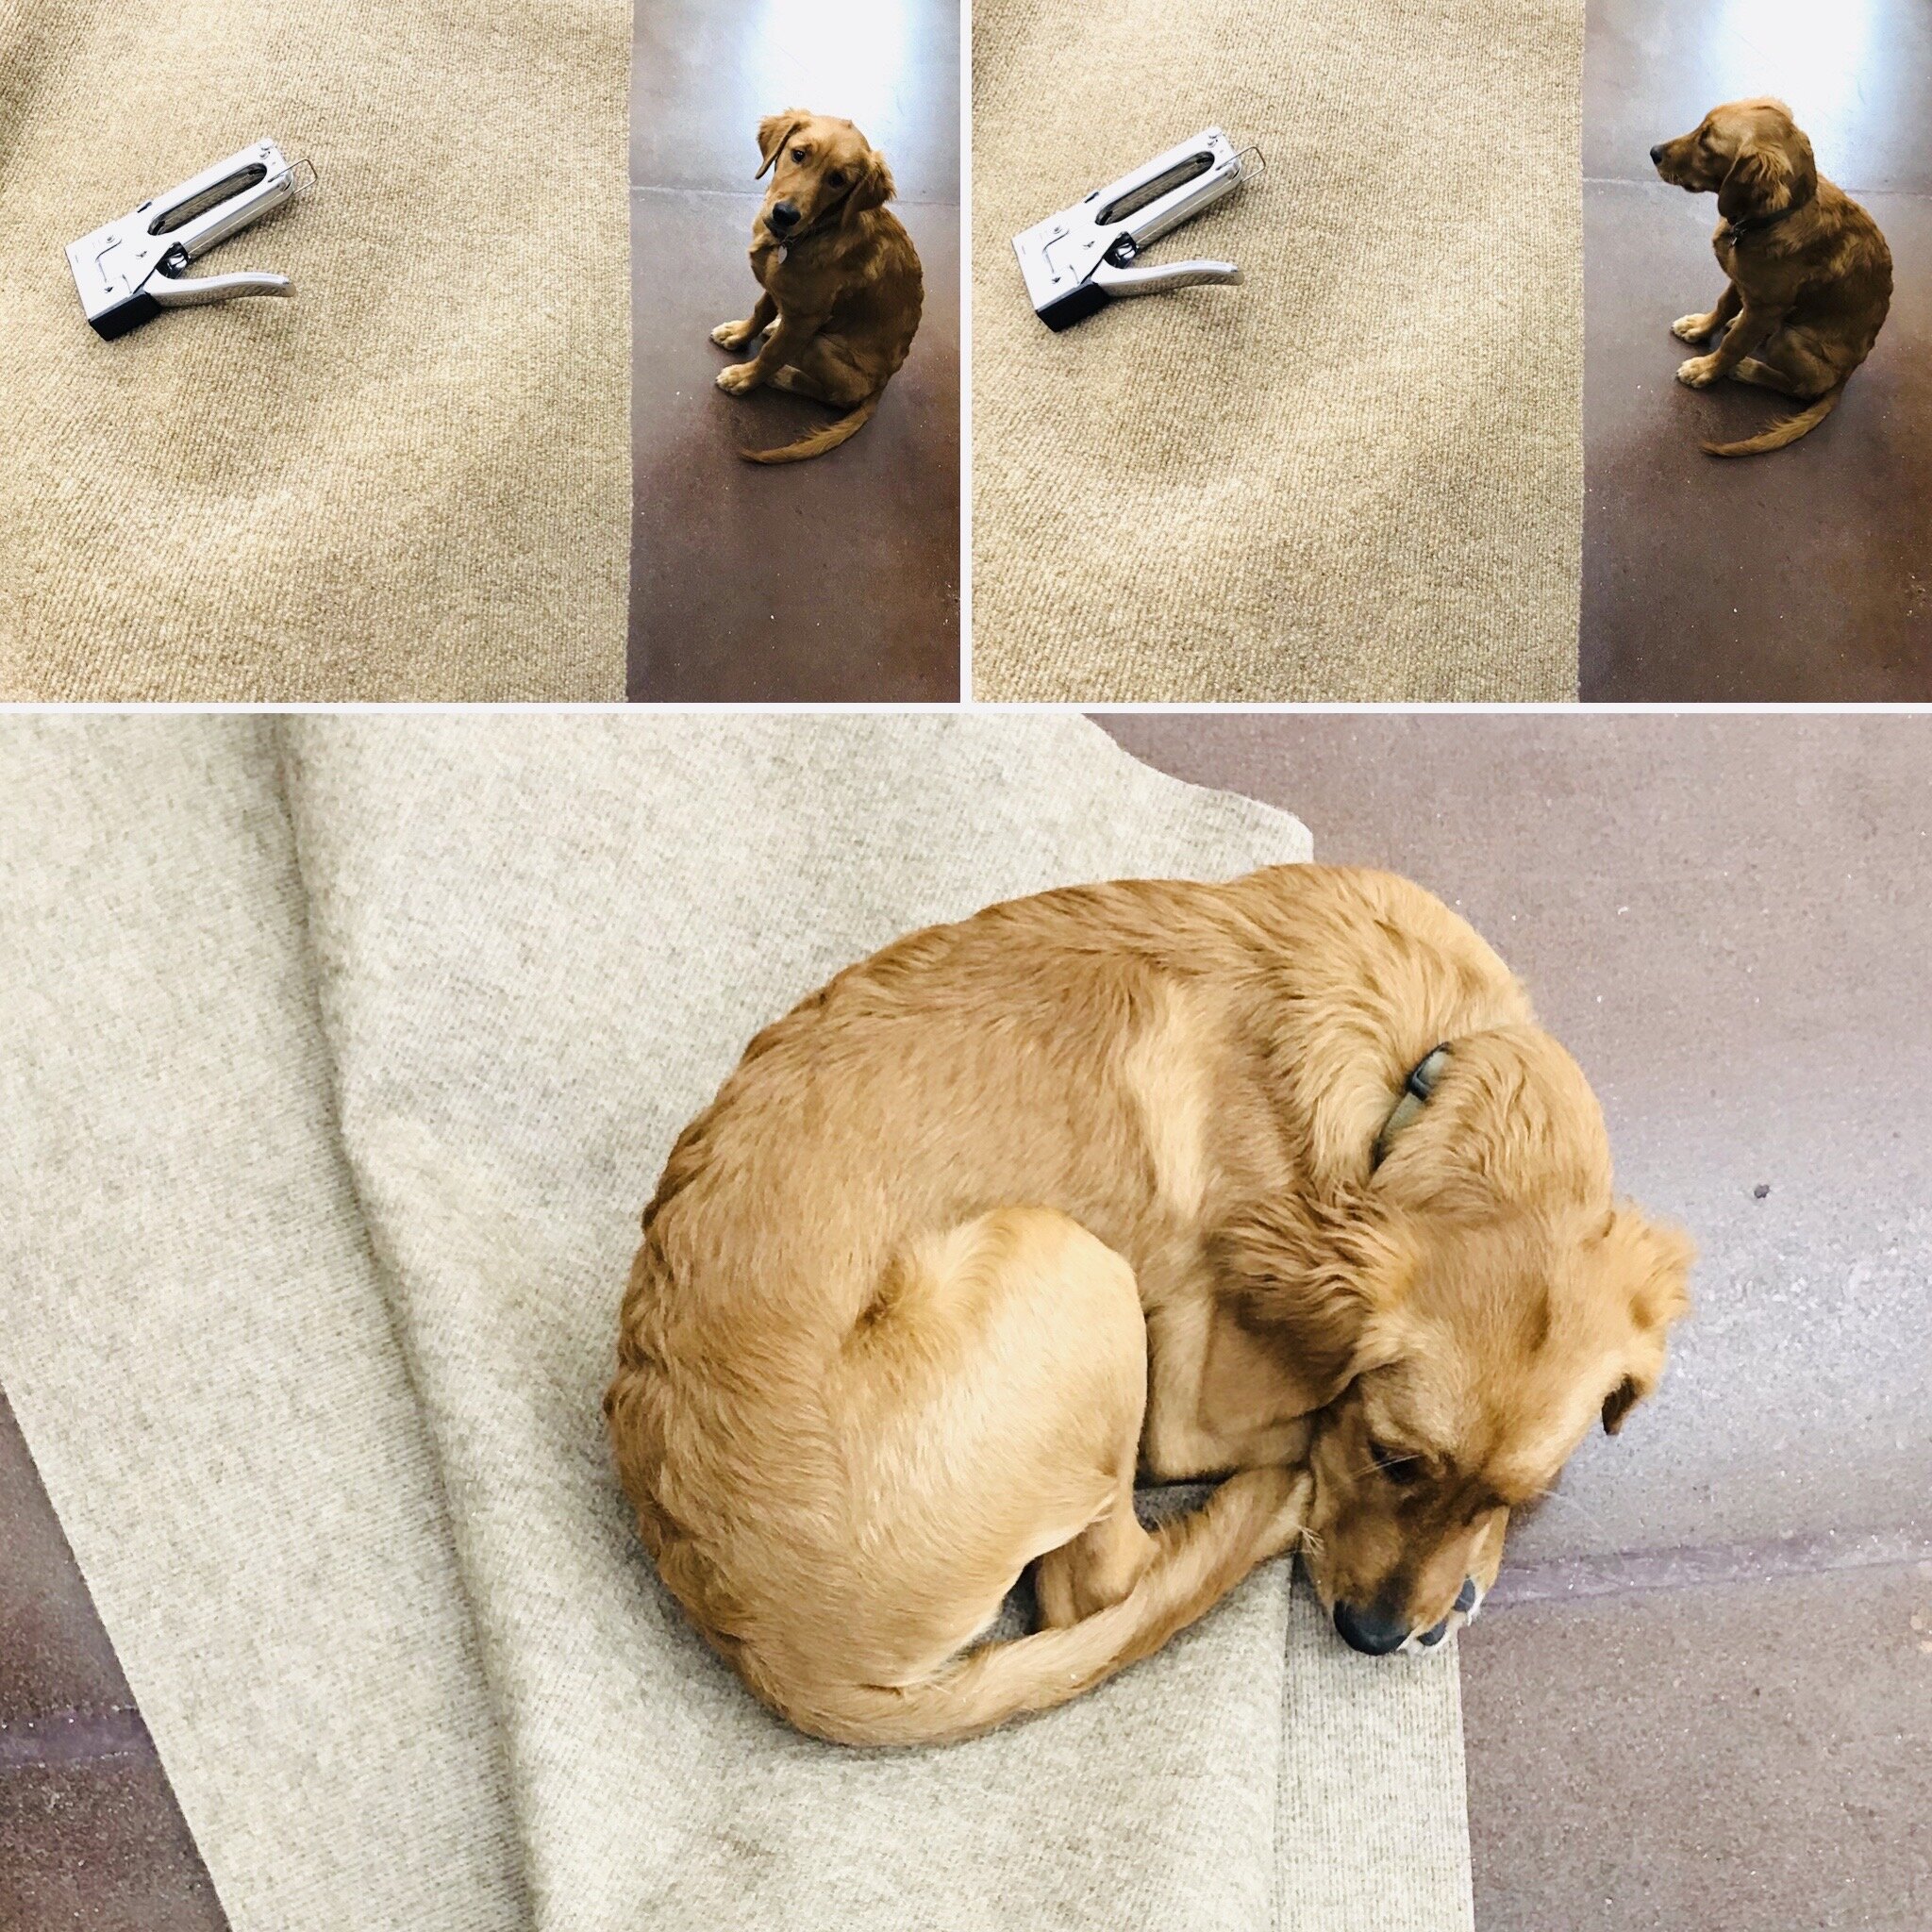
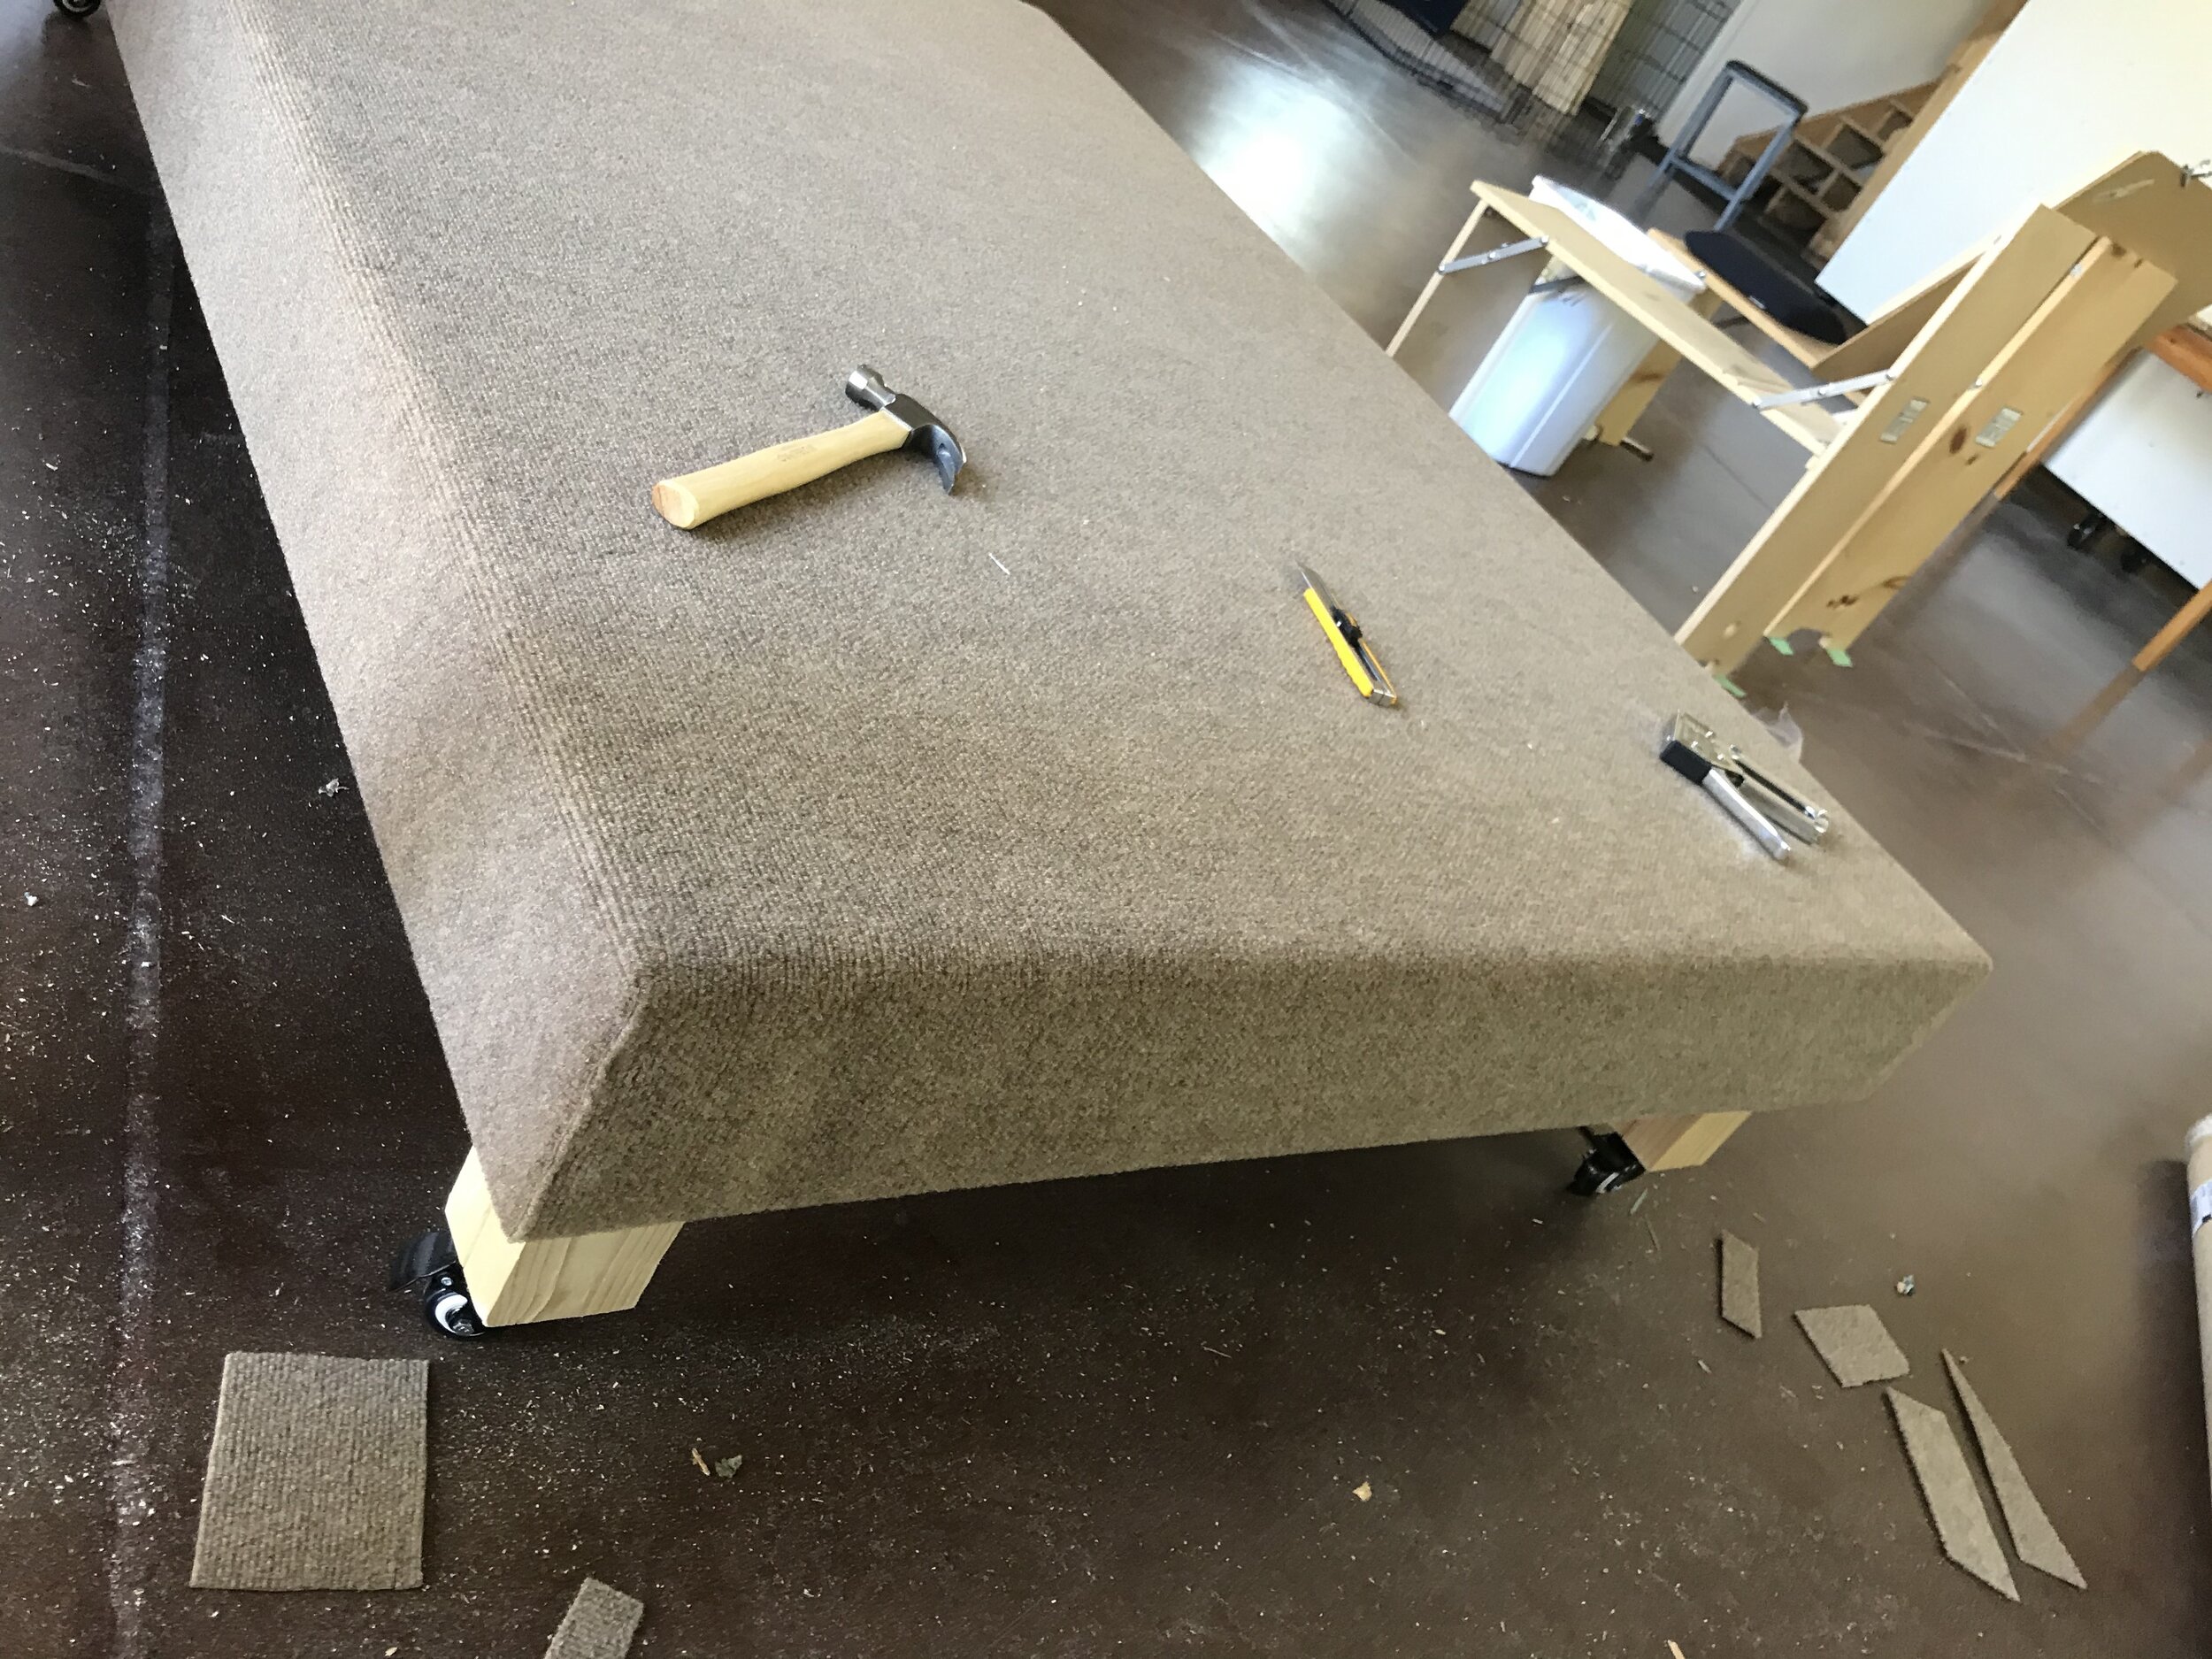
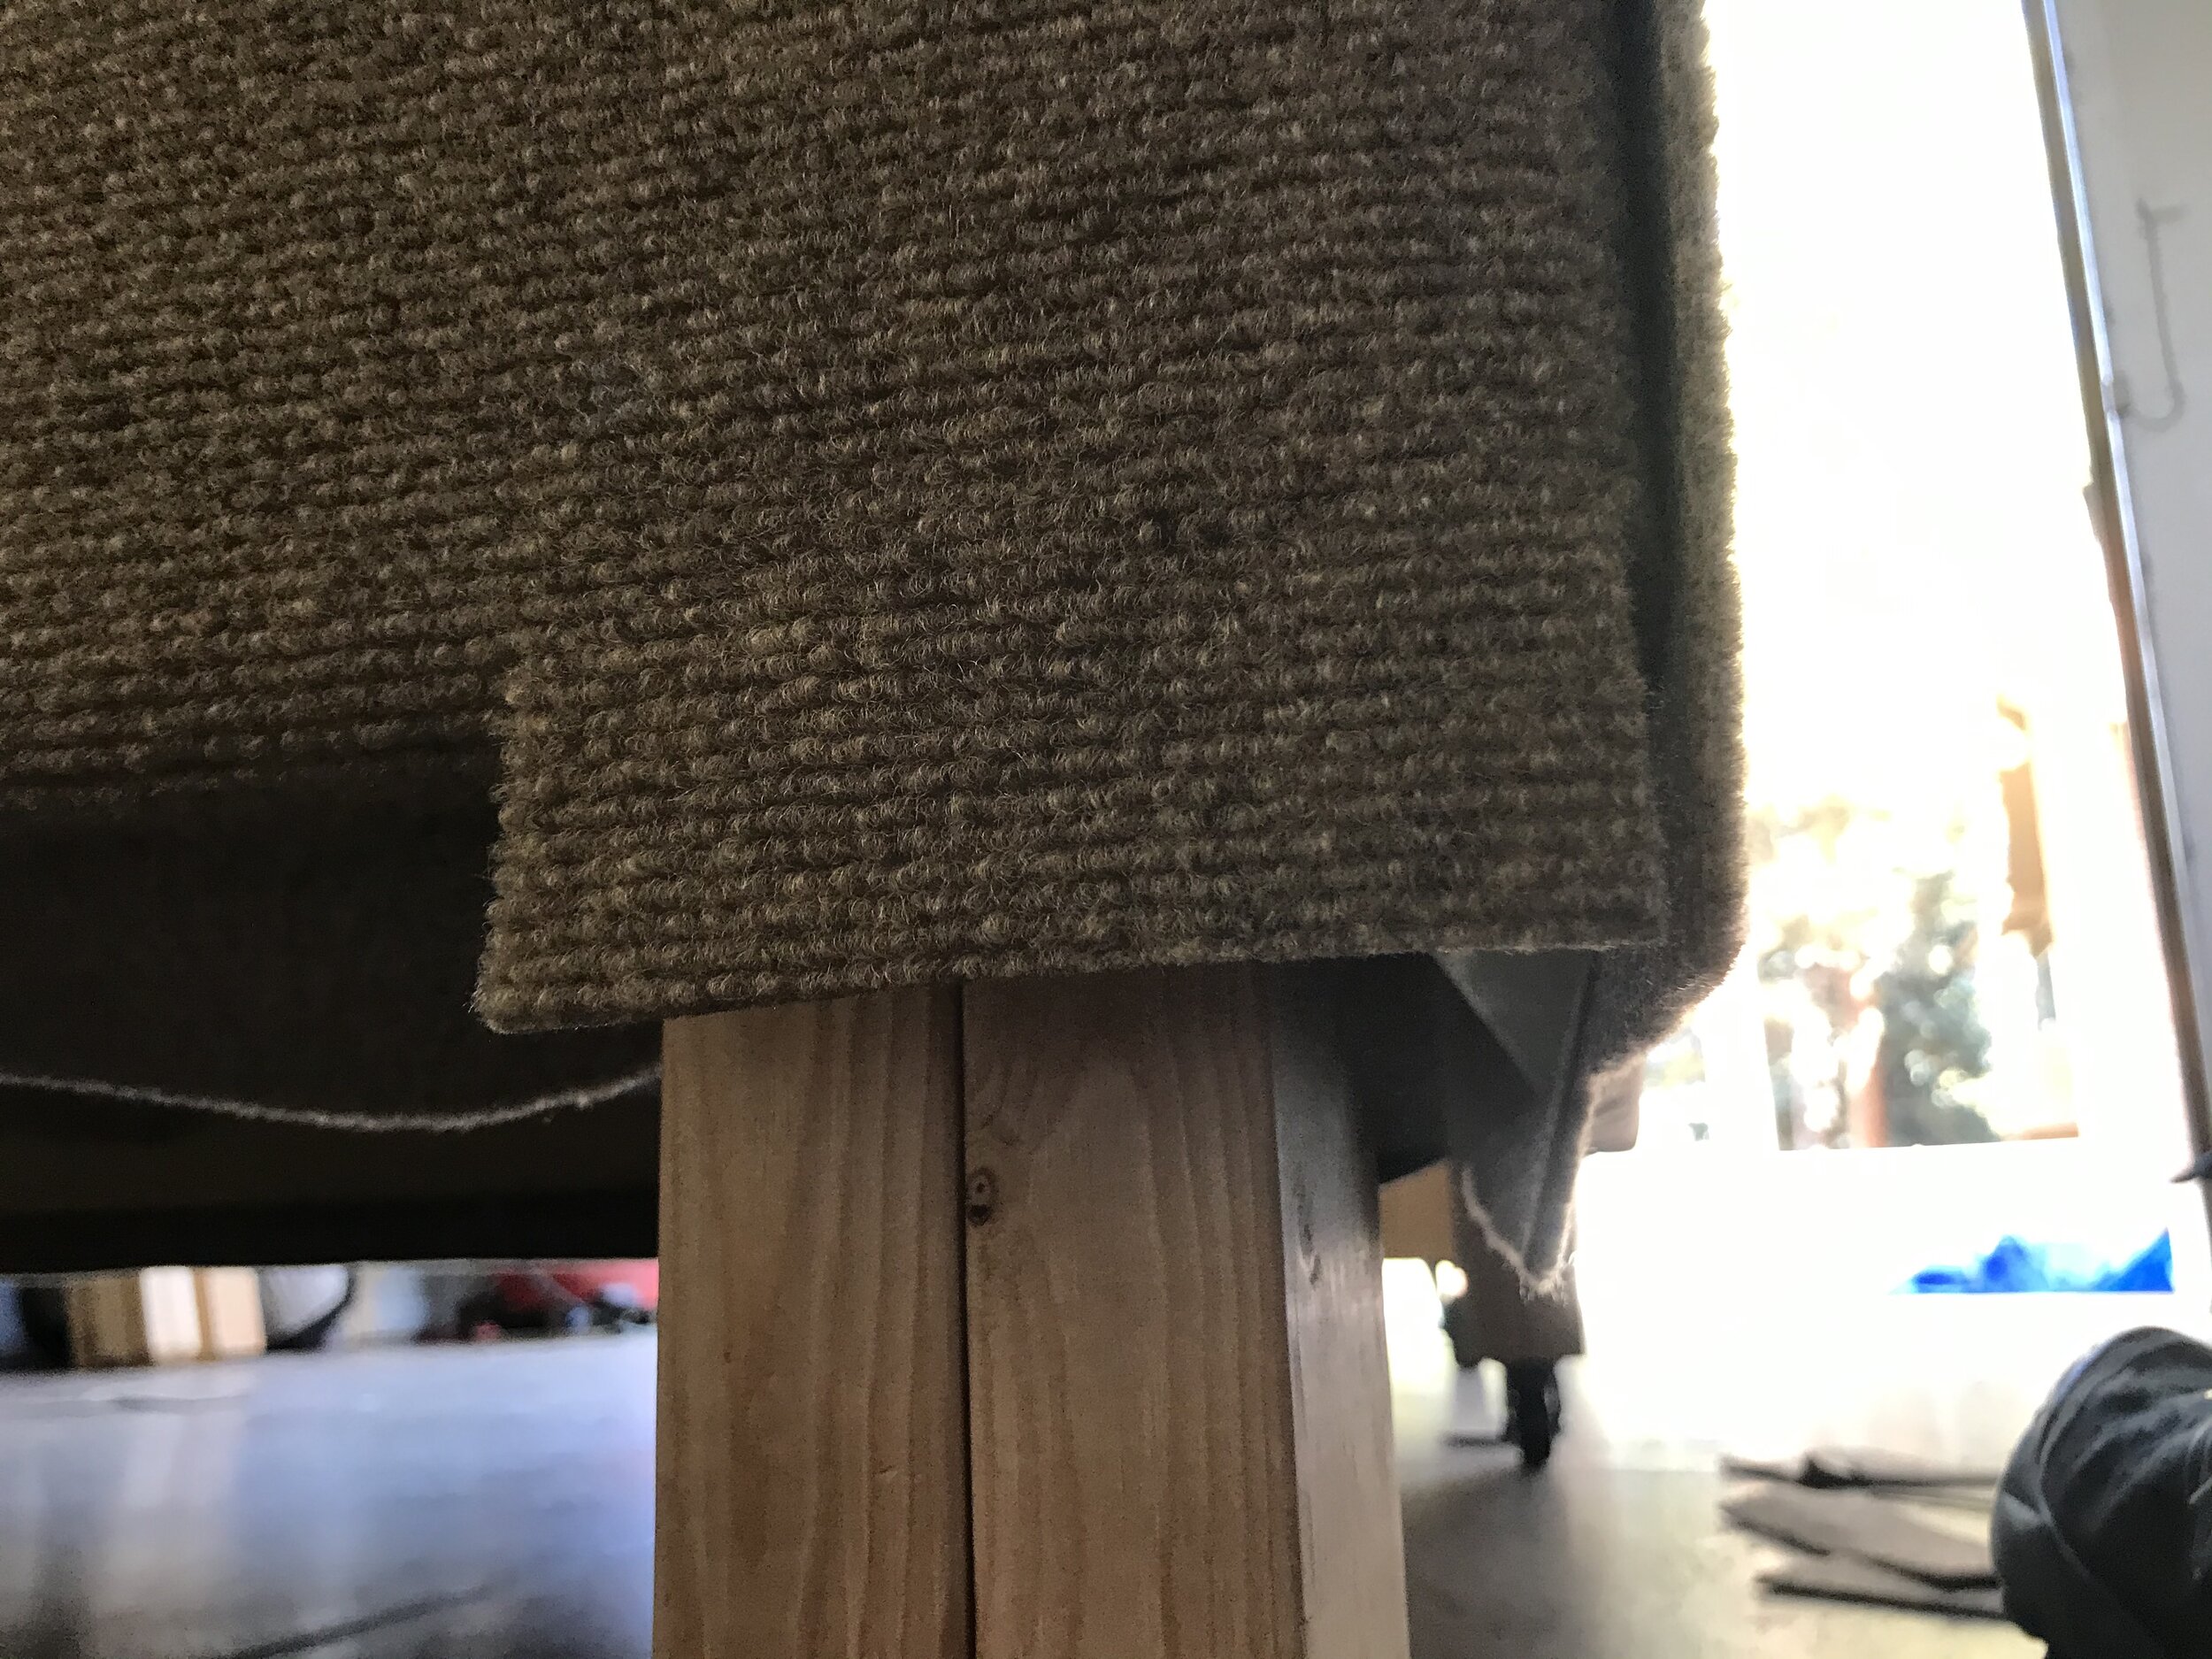
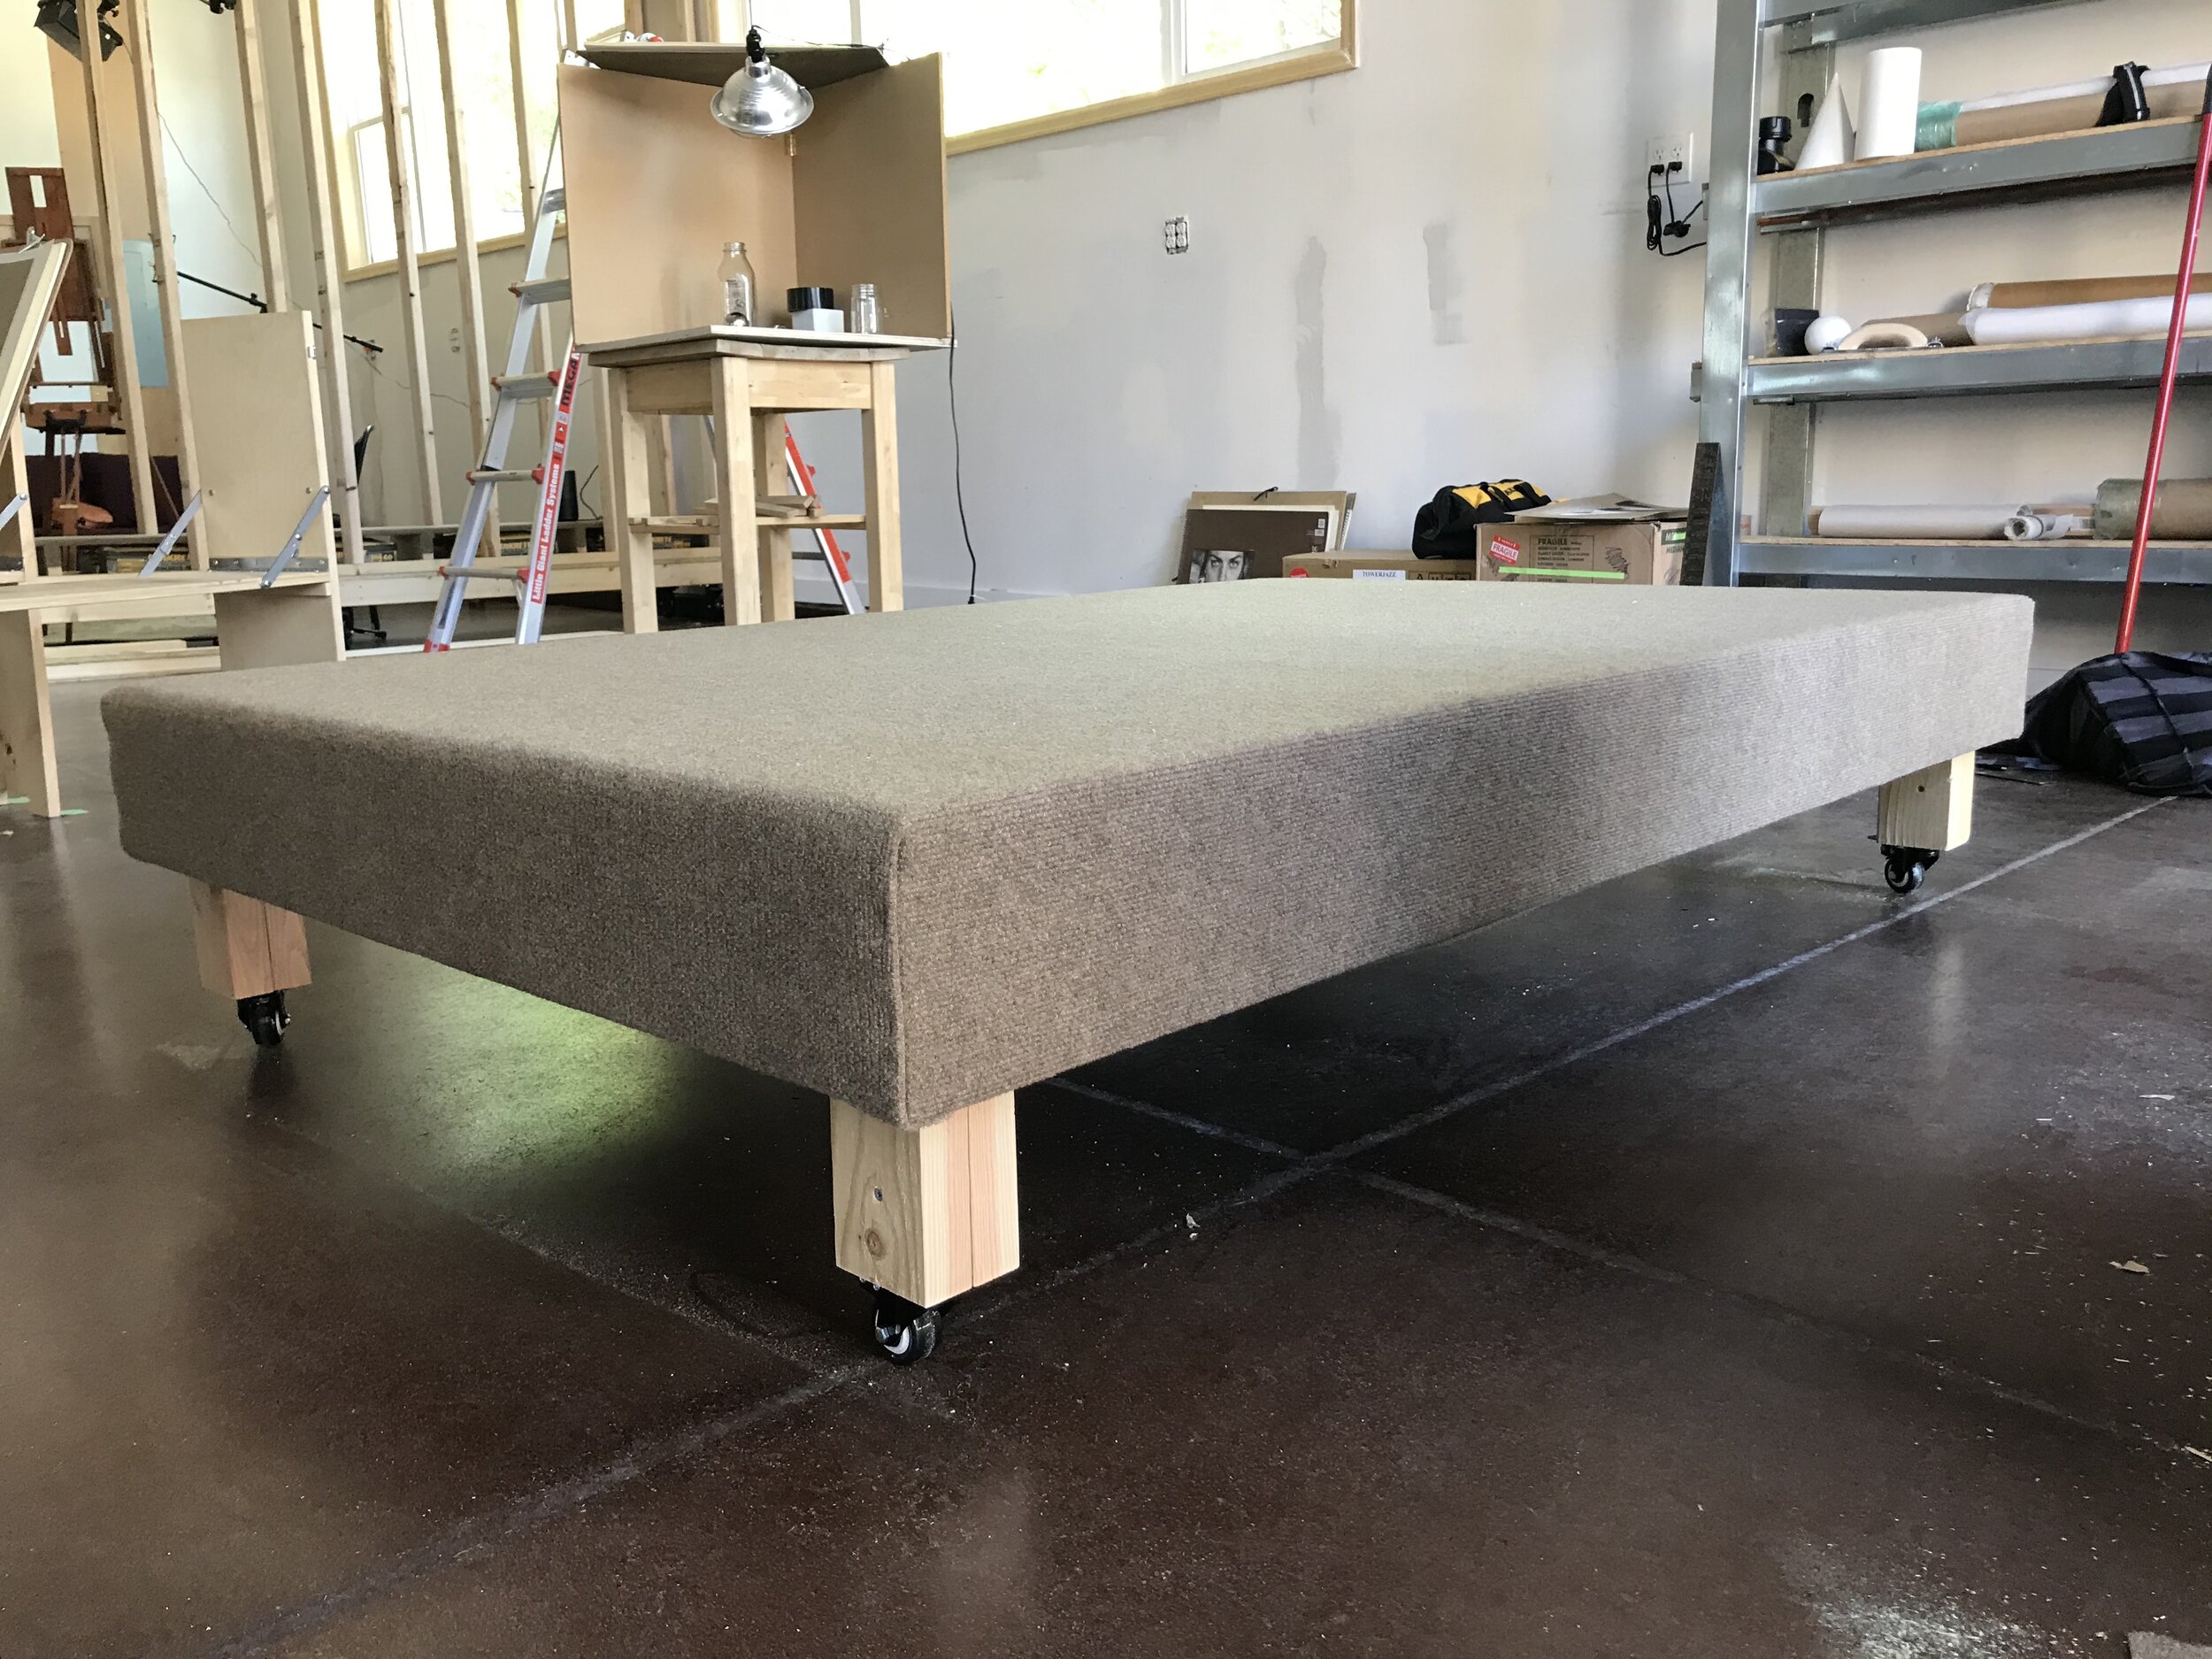
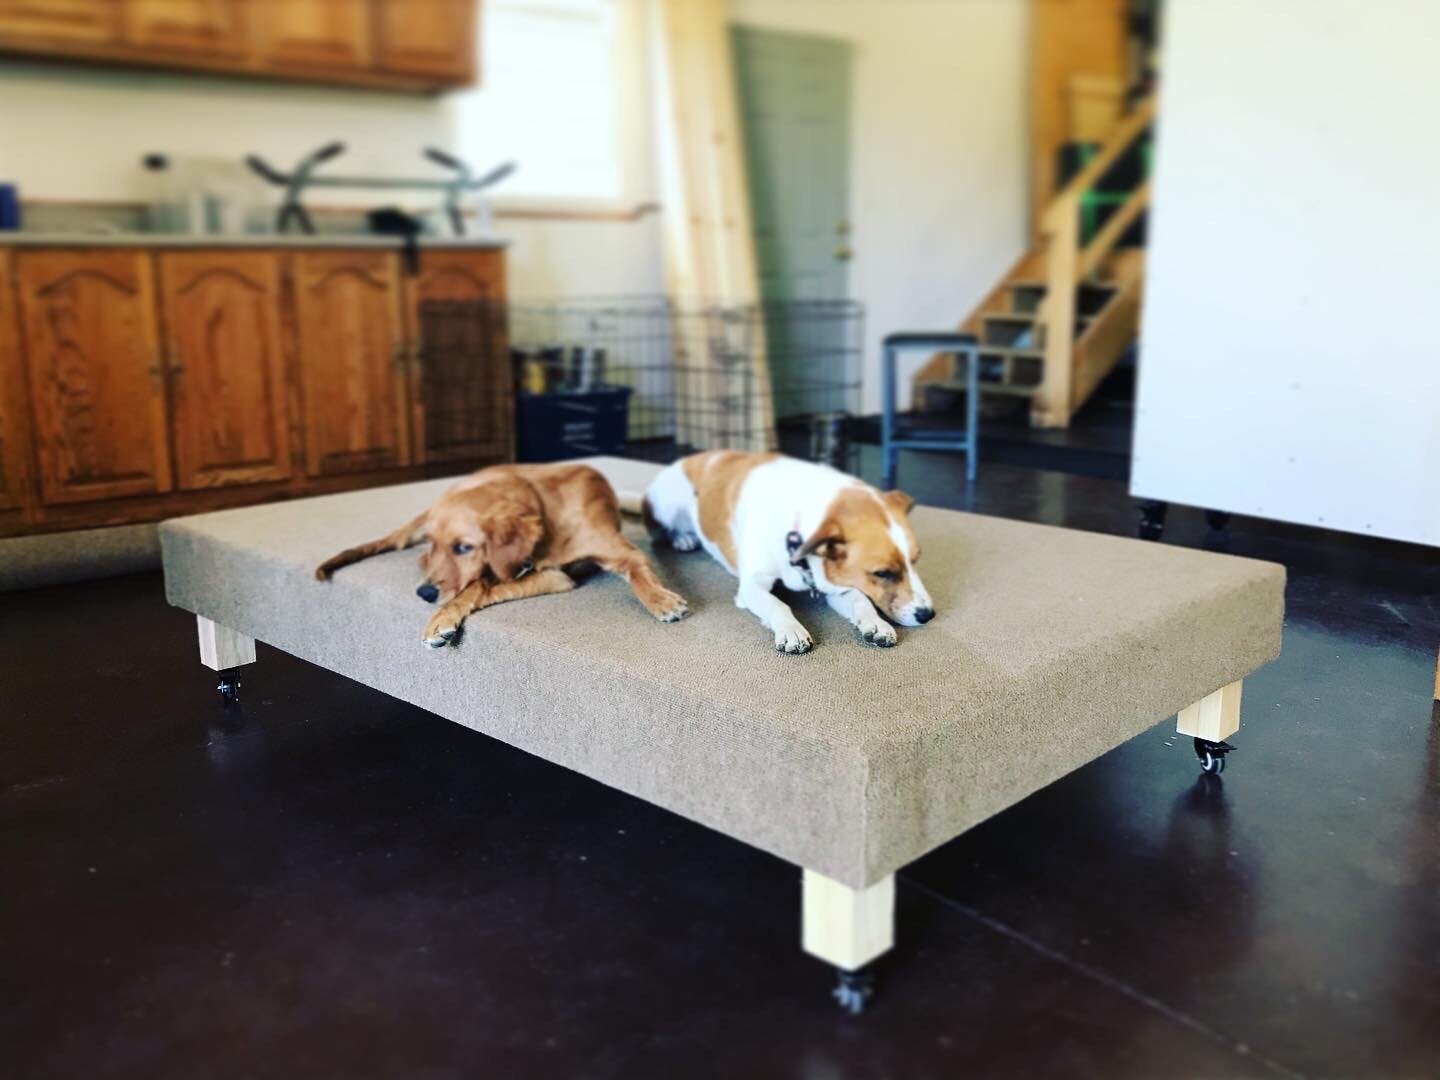
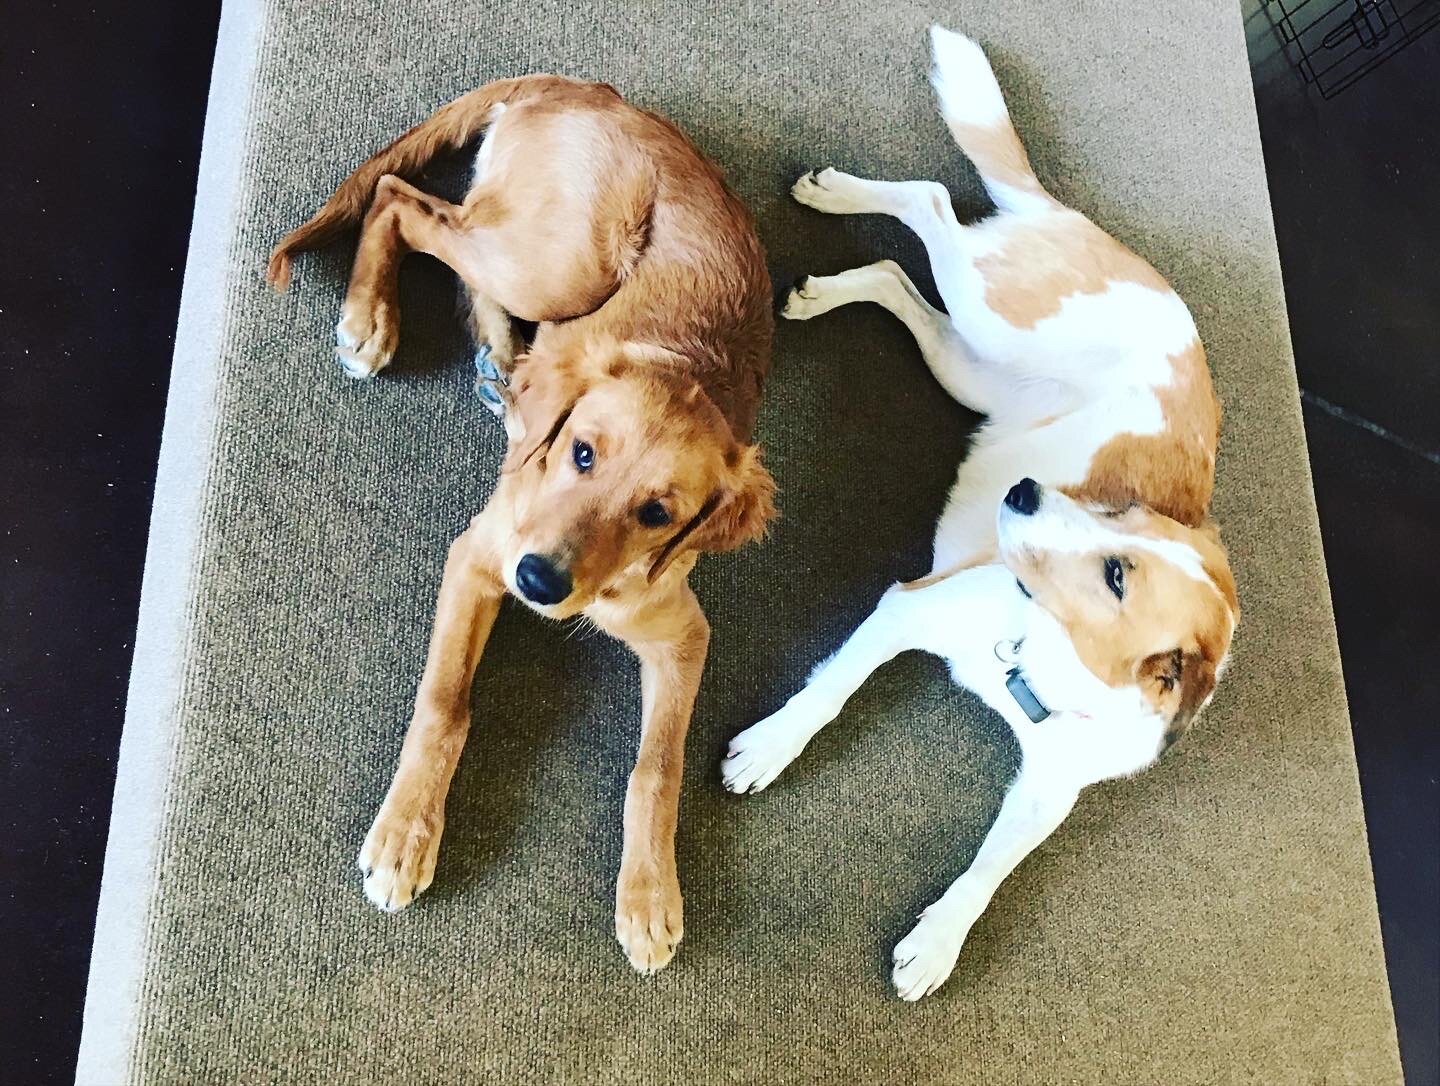
One of the first orders of business was to build a model stand for the many life drawing gatherings I hope to host. This project went down in my personal history as a miracle, requiring ZERO extra trips to home depot, and coming together easily with scraps I already had on hand (including these 2x6” studs they pulled out of the walls when they cut the windows. Only had to remove a few hundred staples and screws, haha) from other projects, with the small exception of caster wheels and carpet. Also, word to the wise: Amazon rules the caster wheel options in both price and quality. Sorry Home Depot (and every other store I checked). I’ve posted the process below for anyone who might be embarking on a similar DIY project! Hopefully your assistant is as cute as mine.


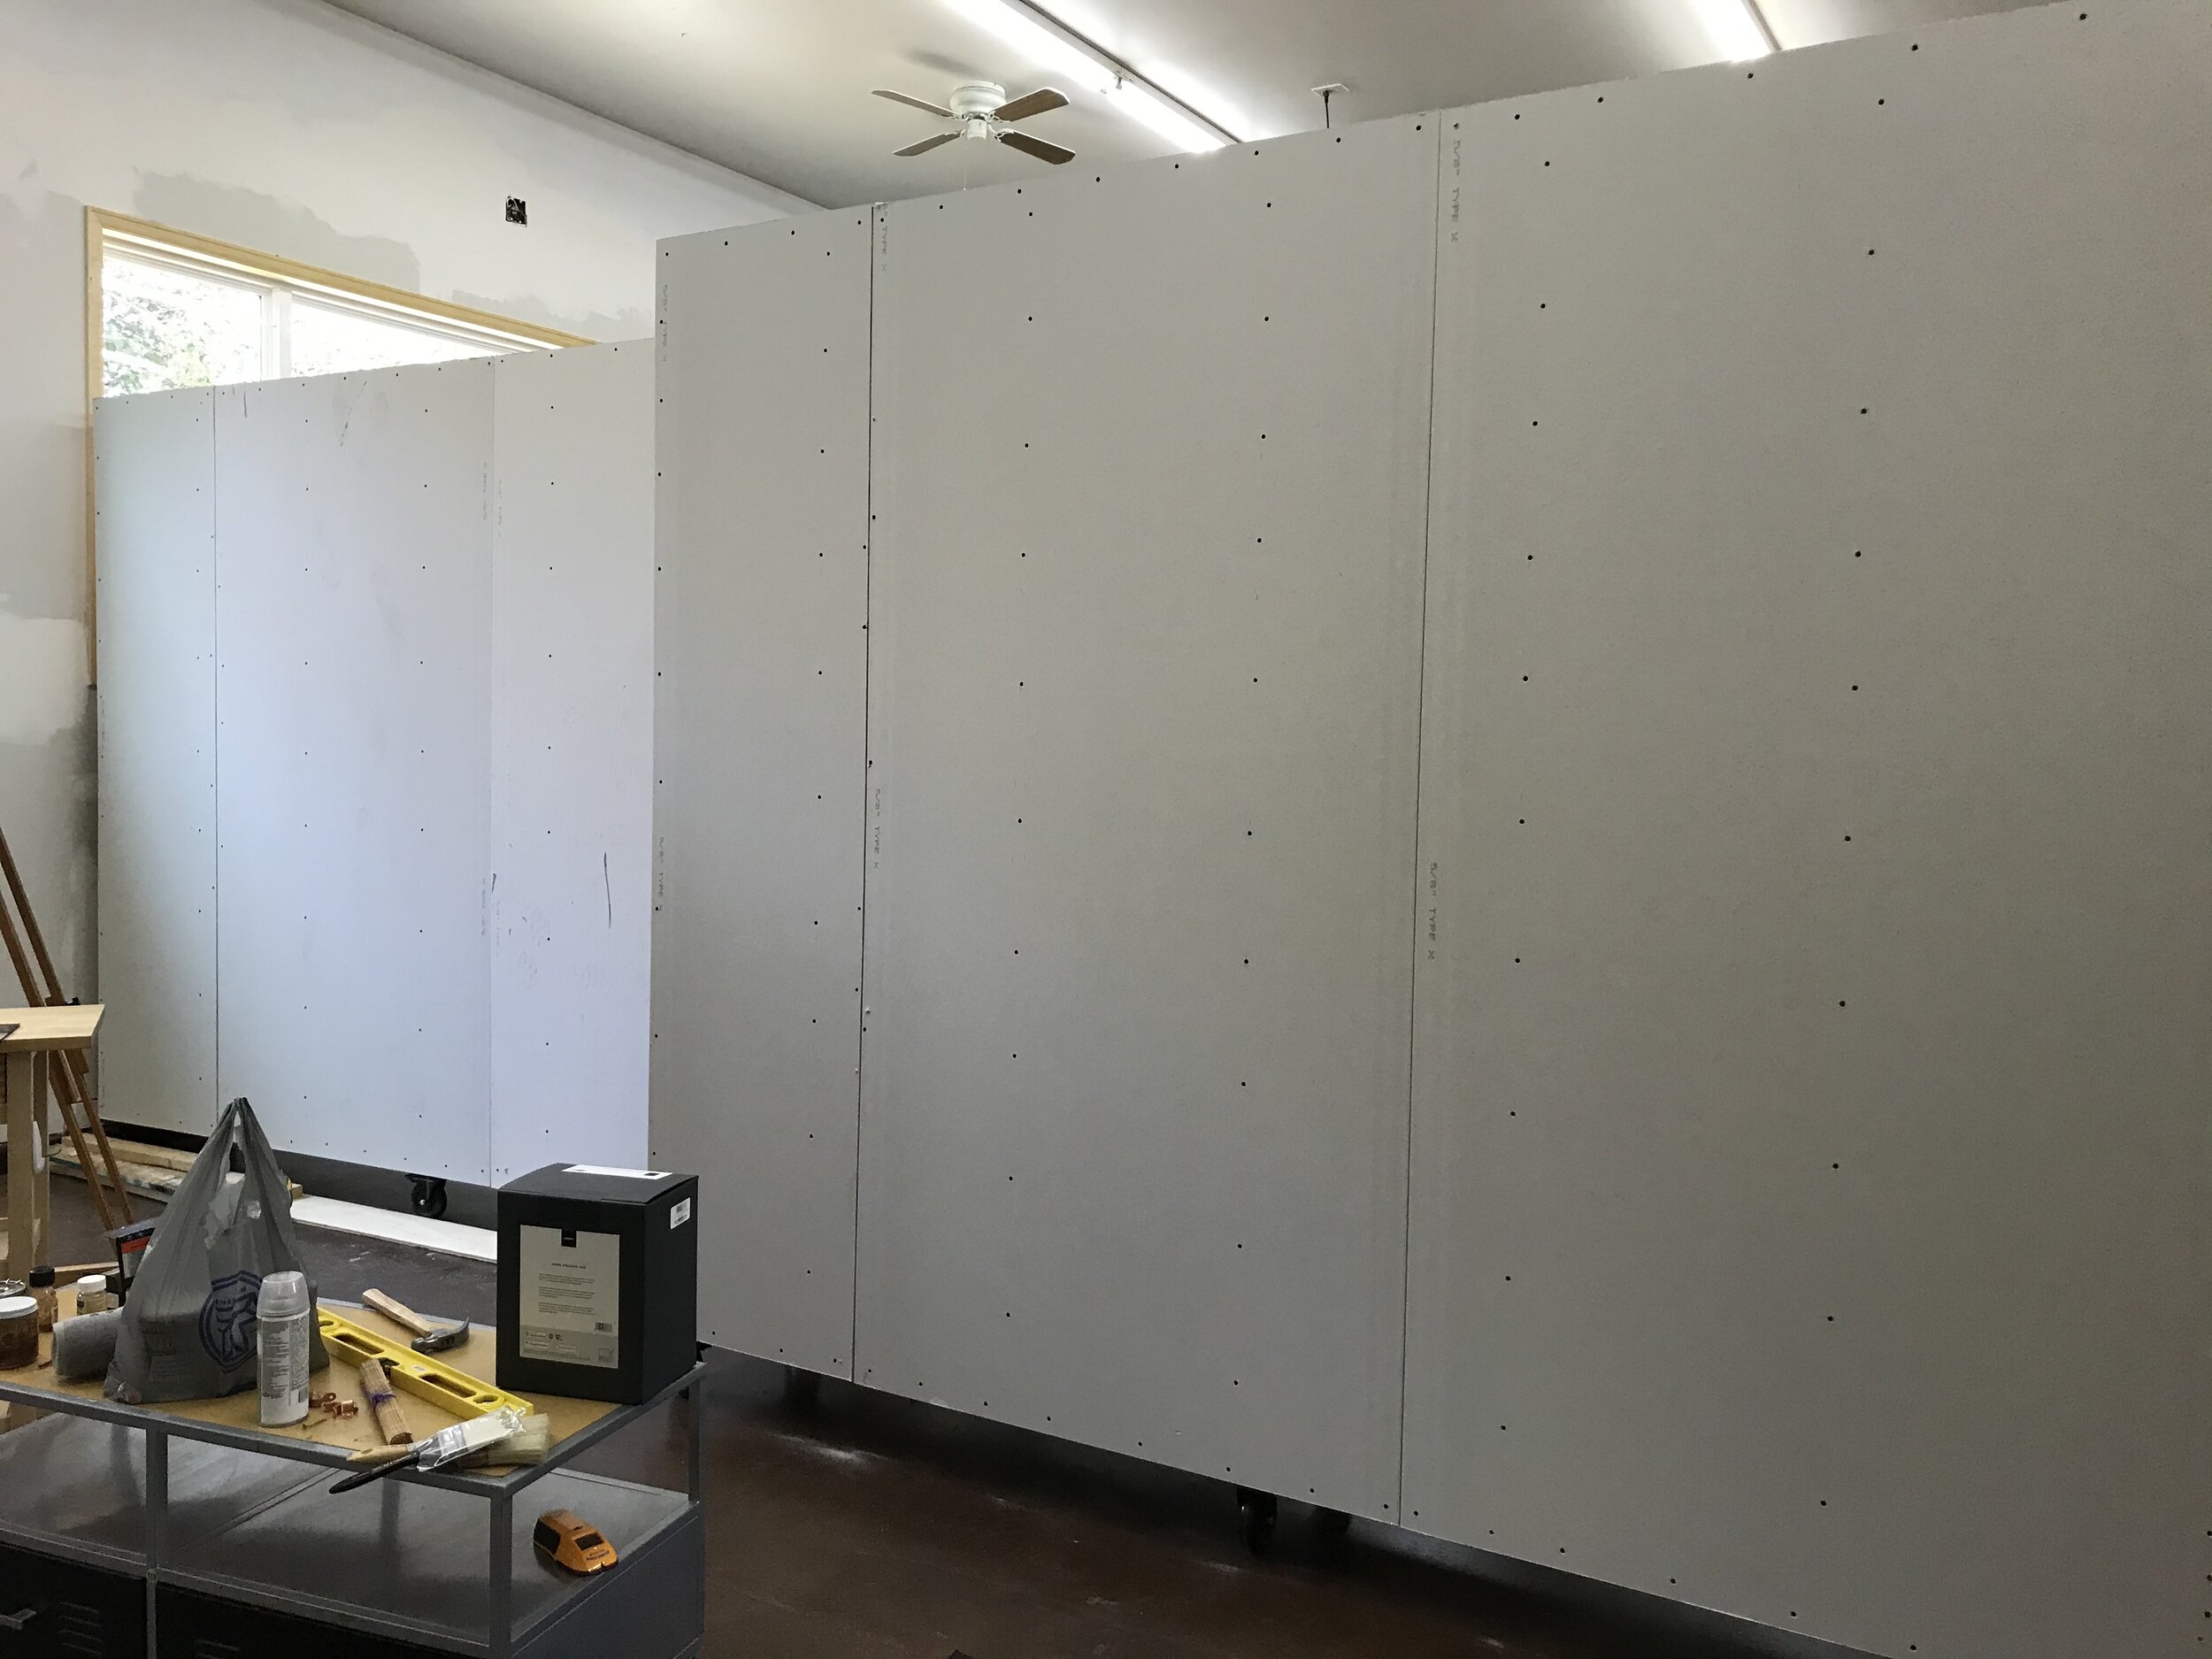
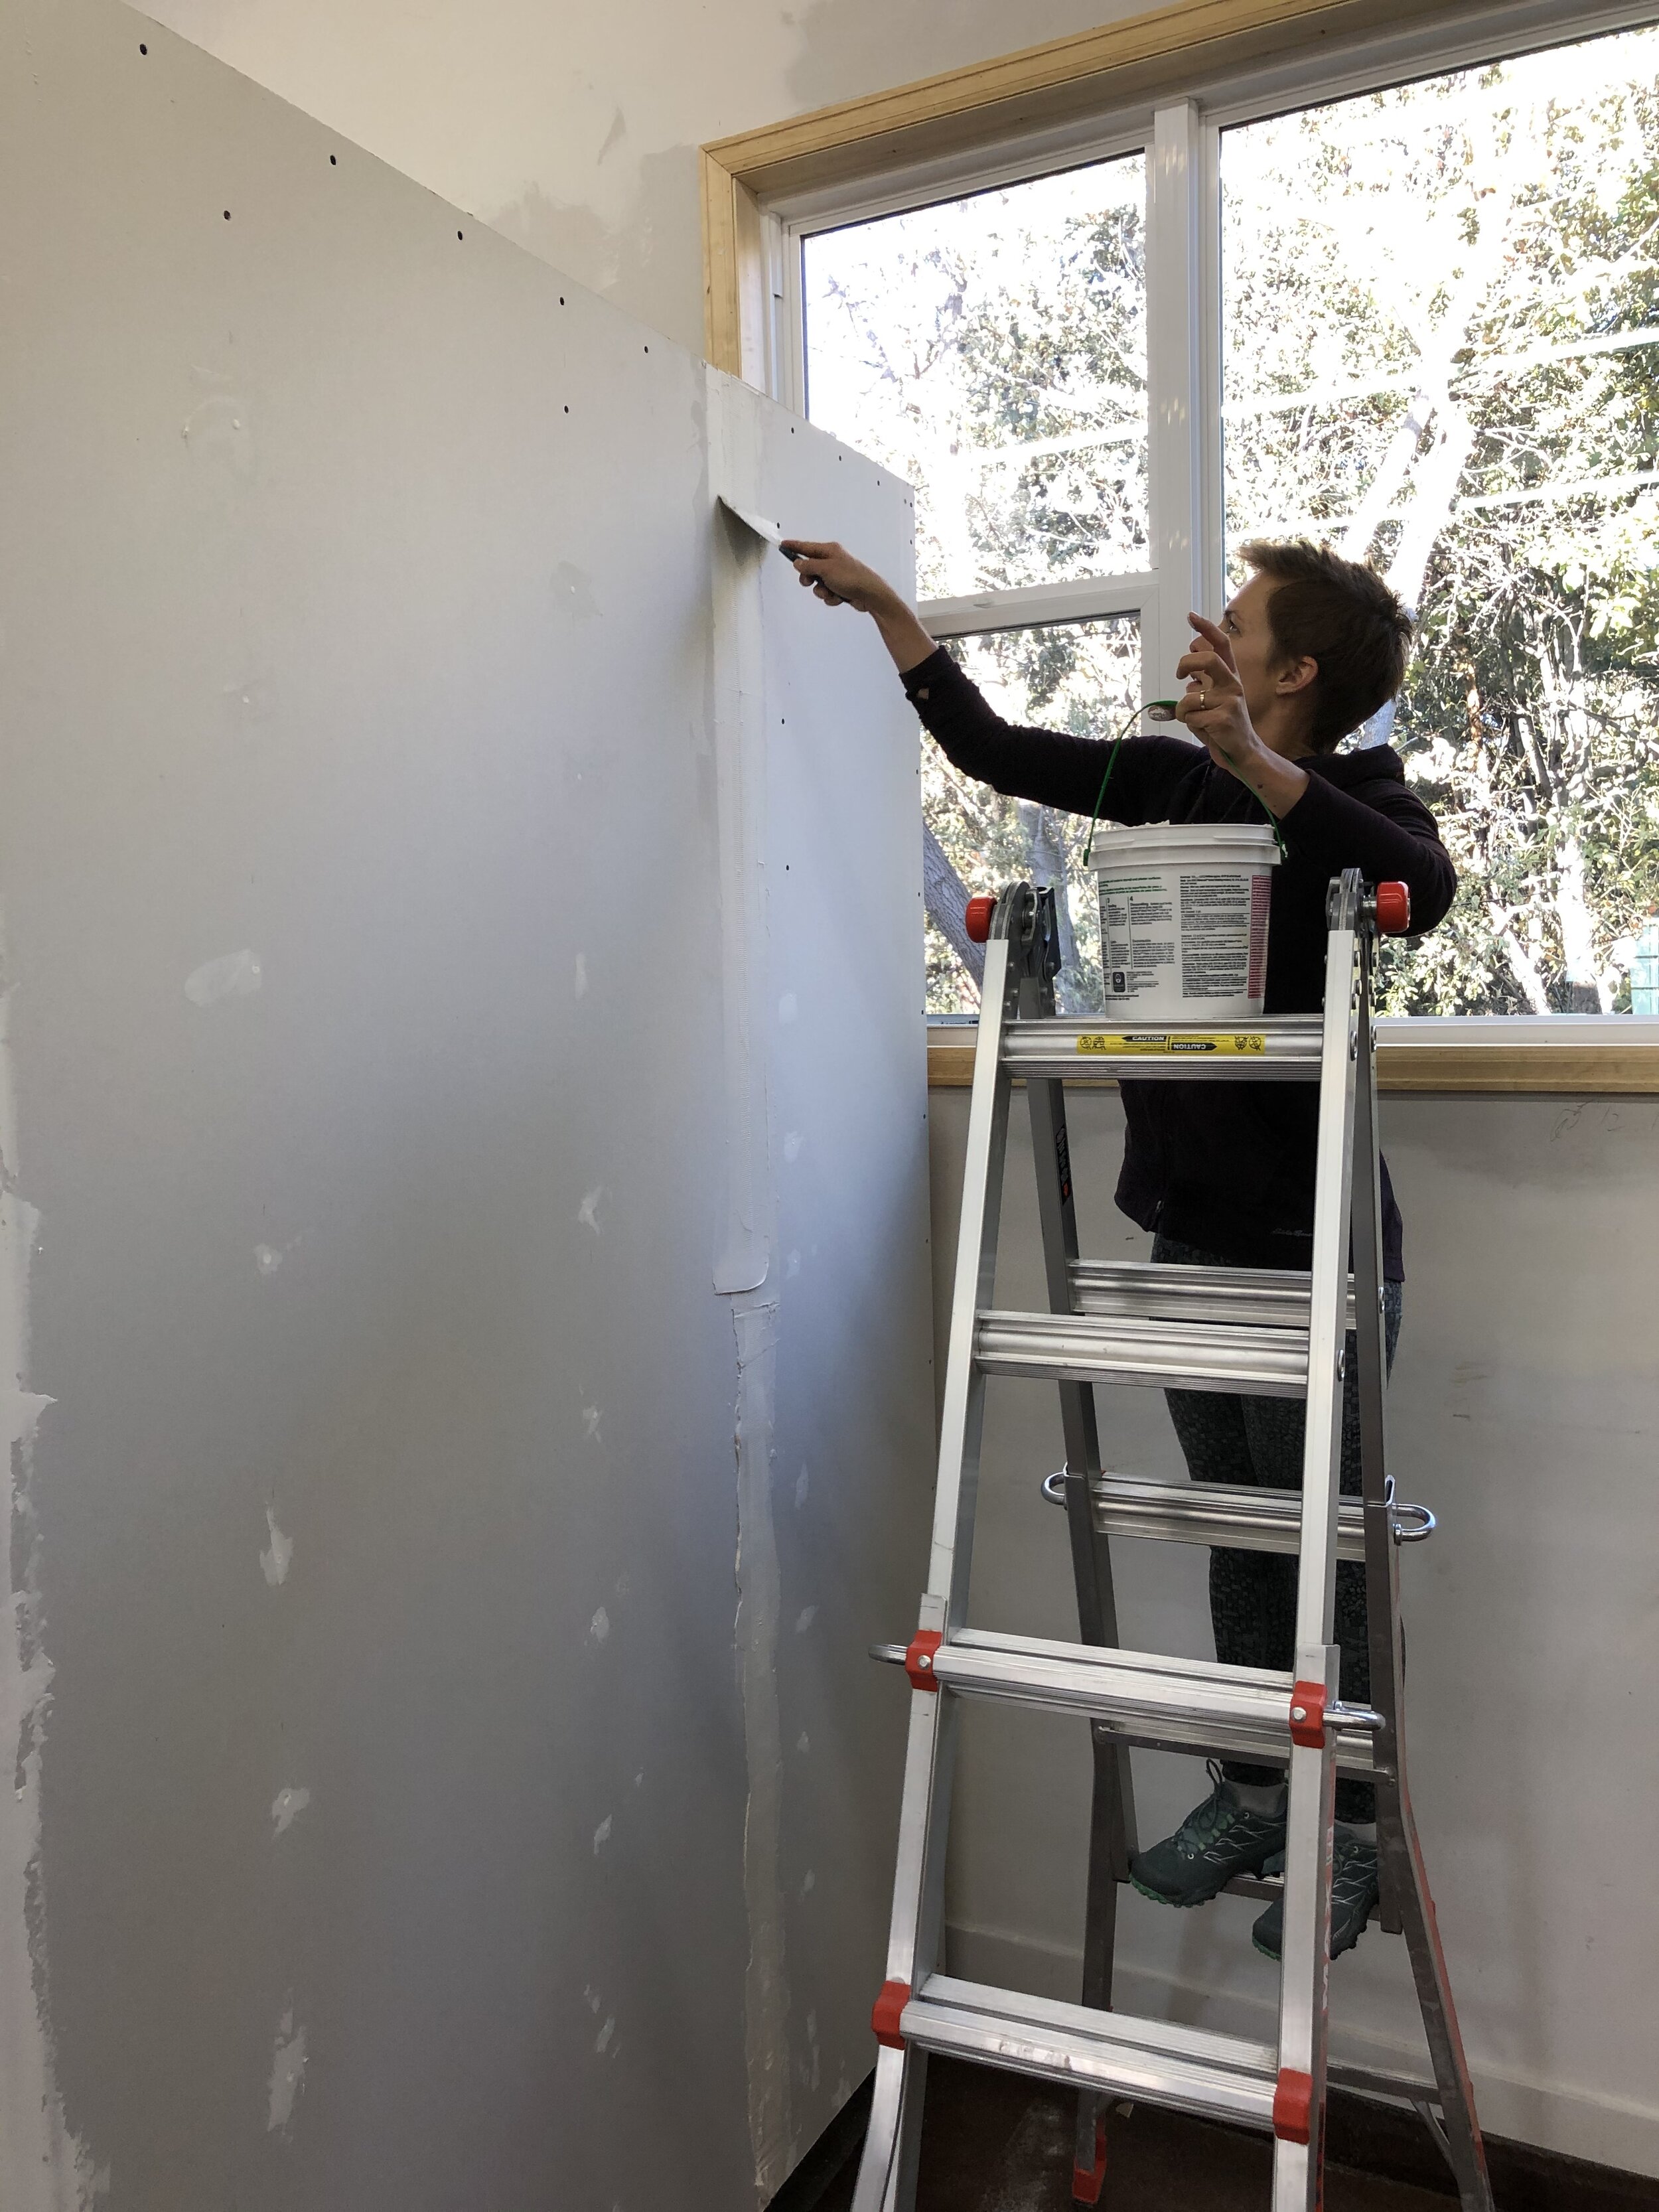
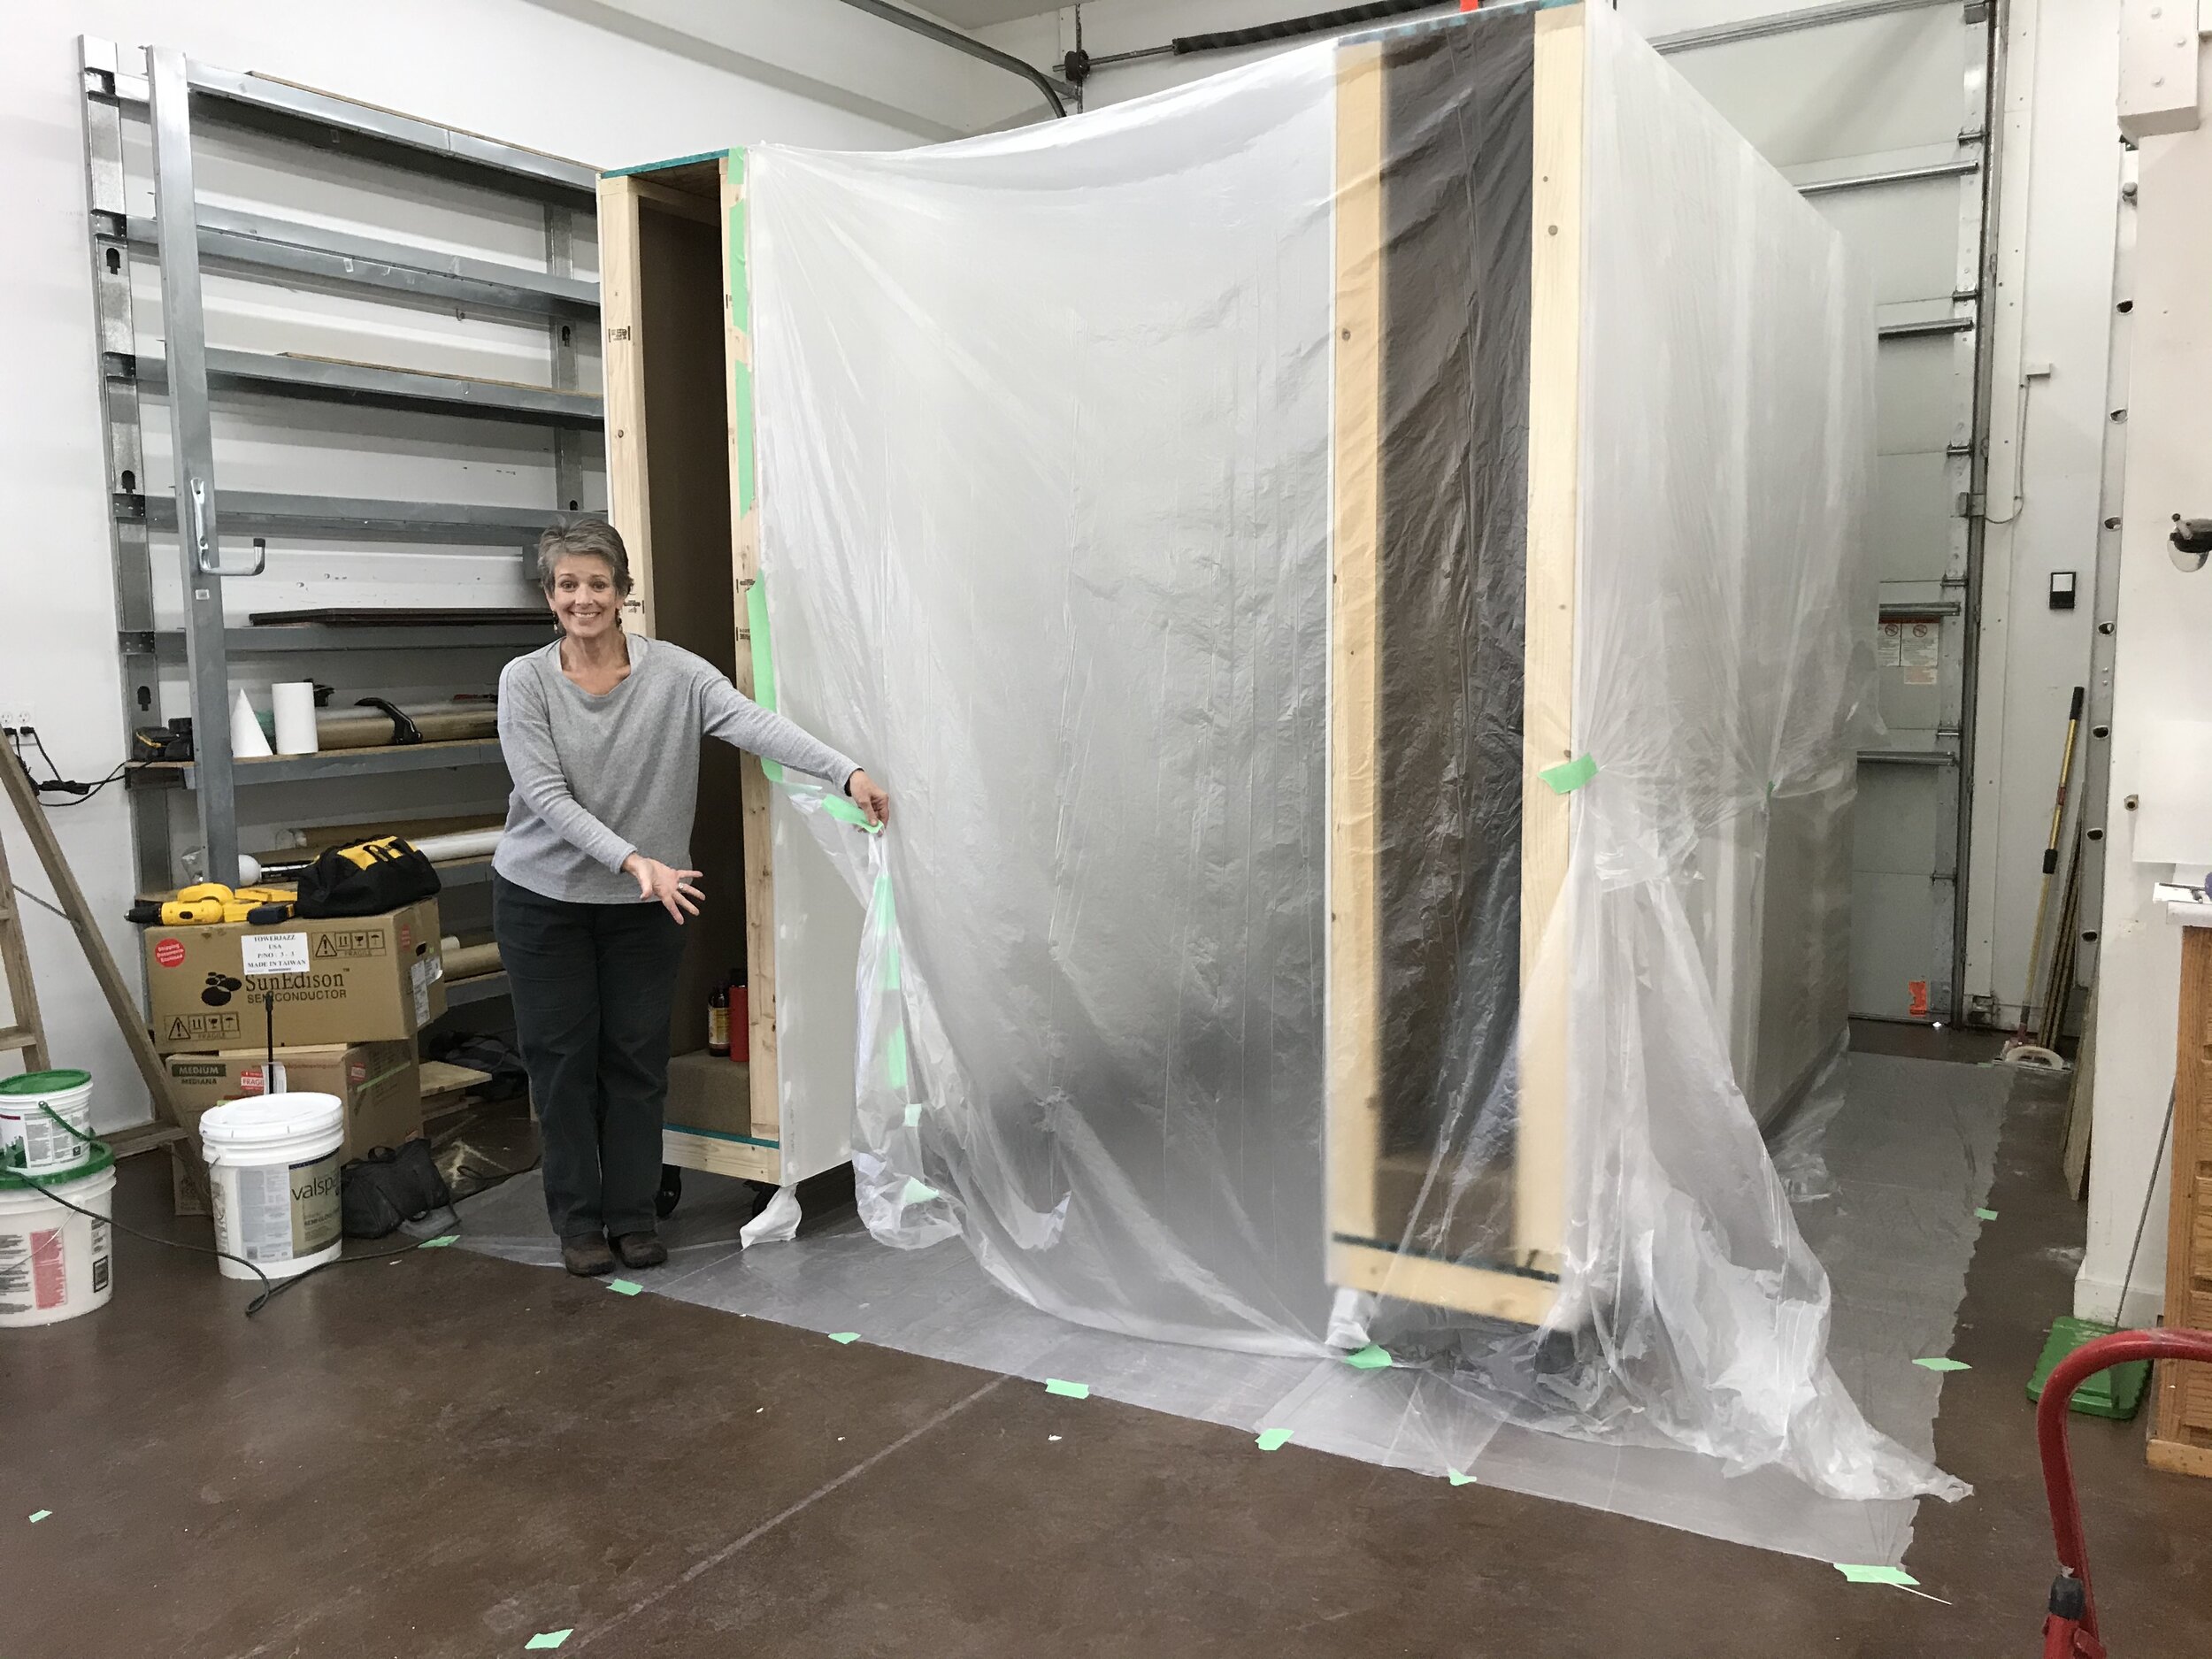
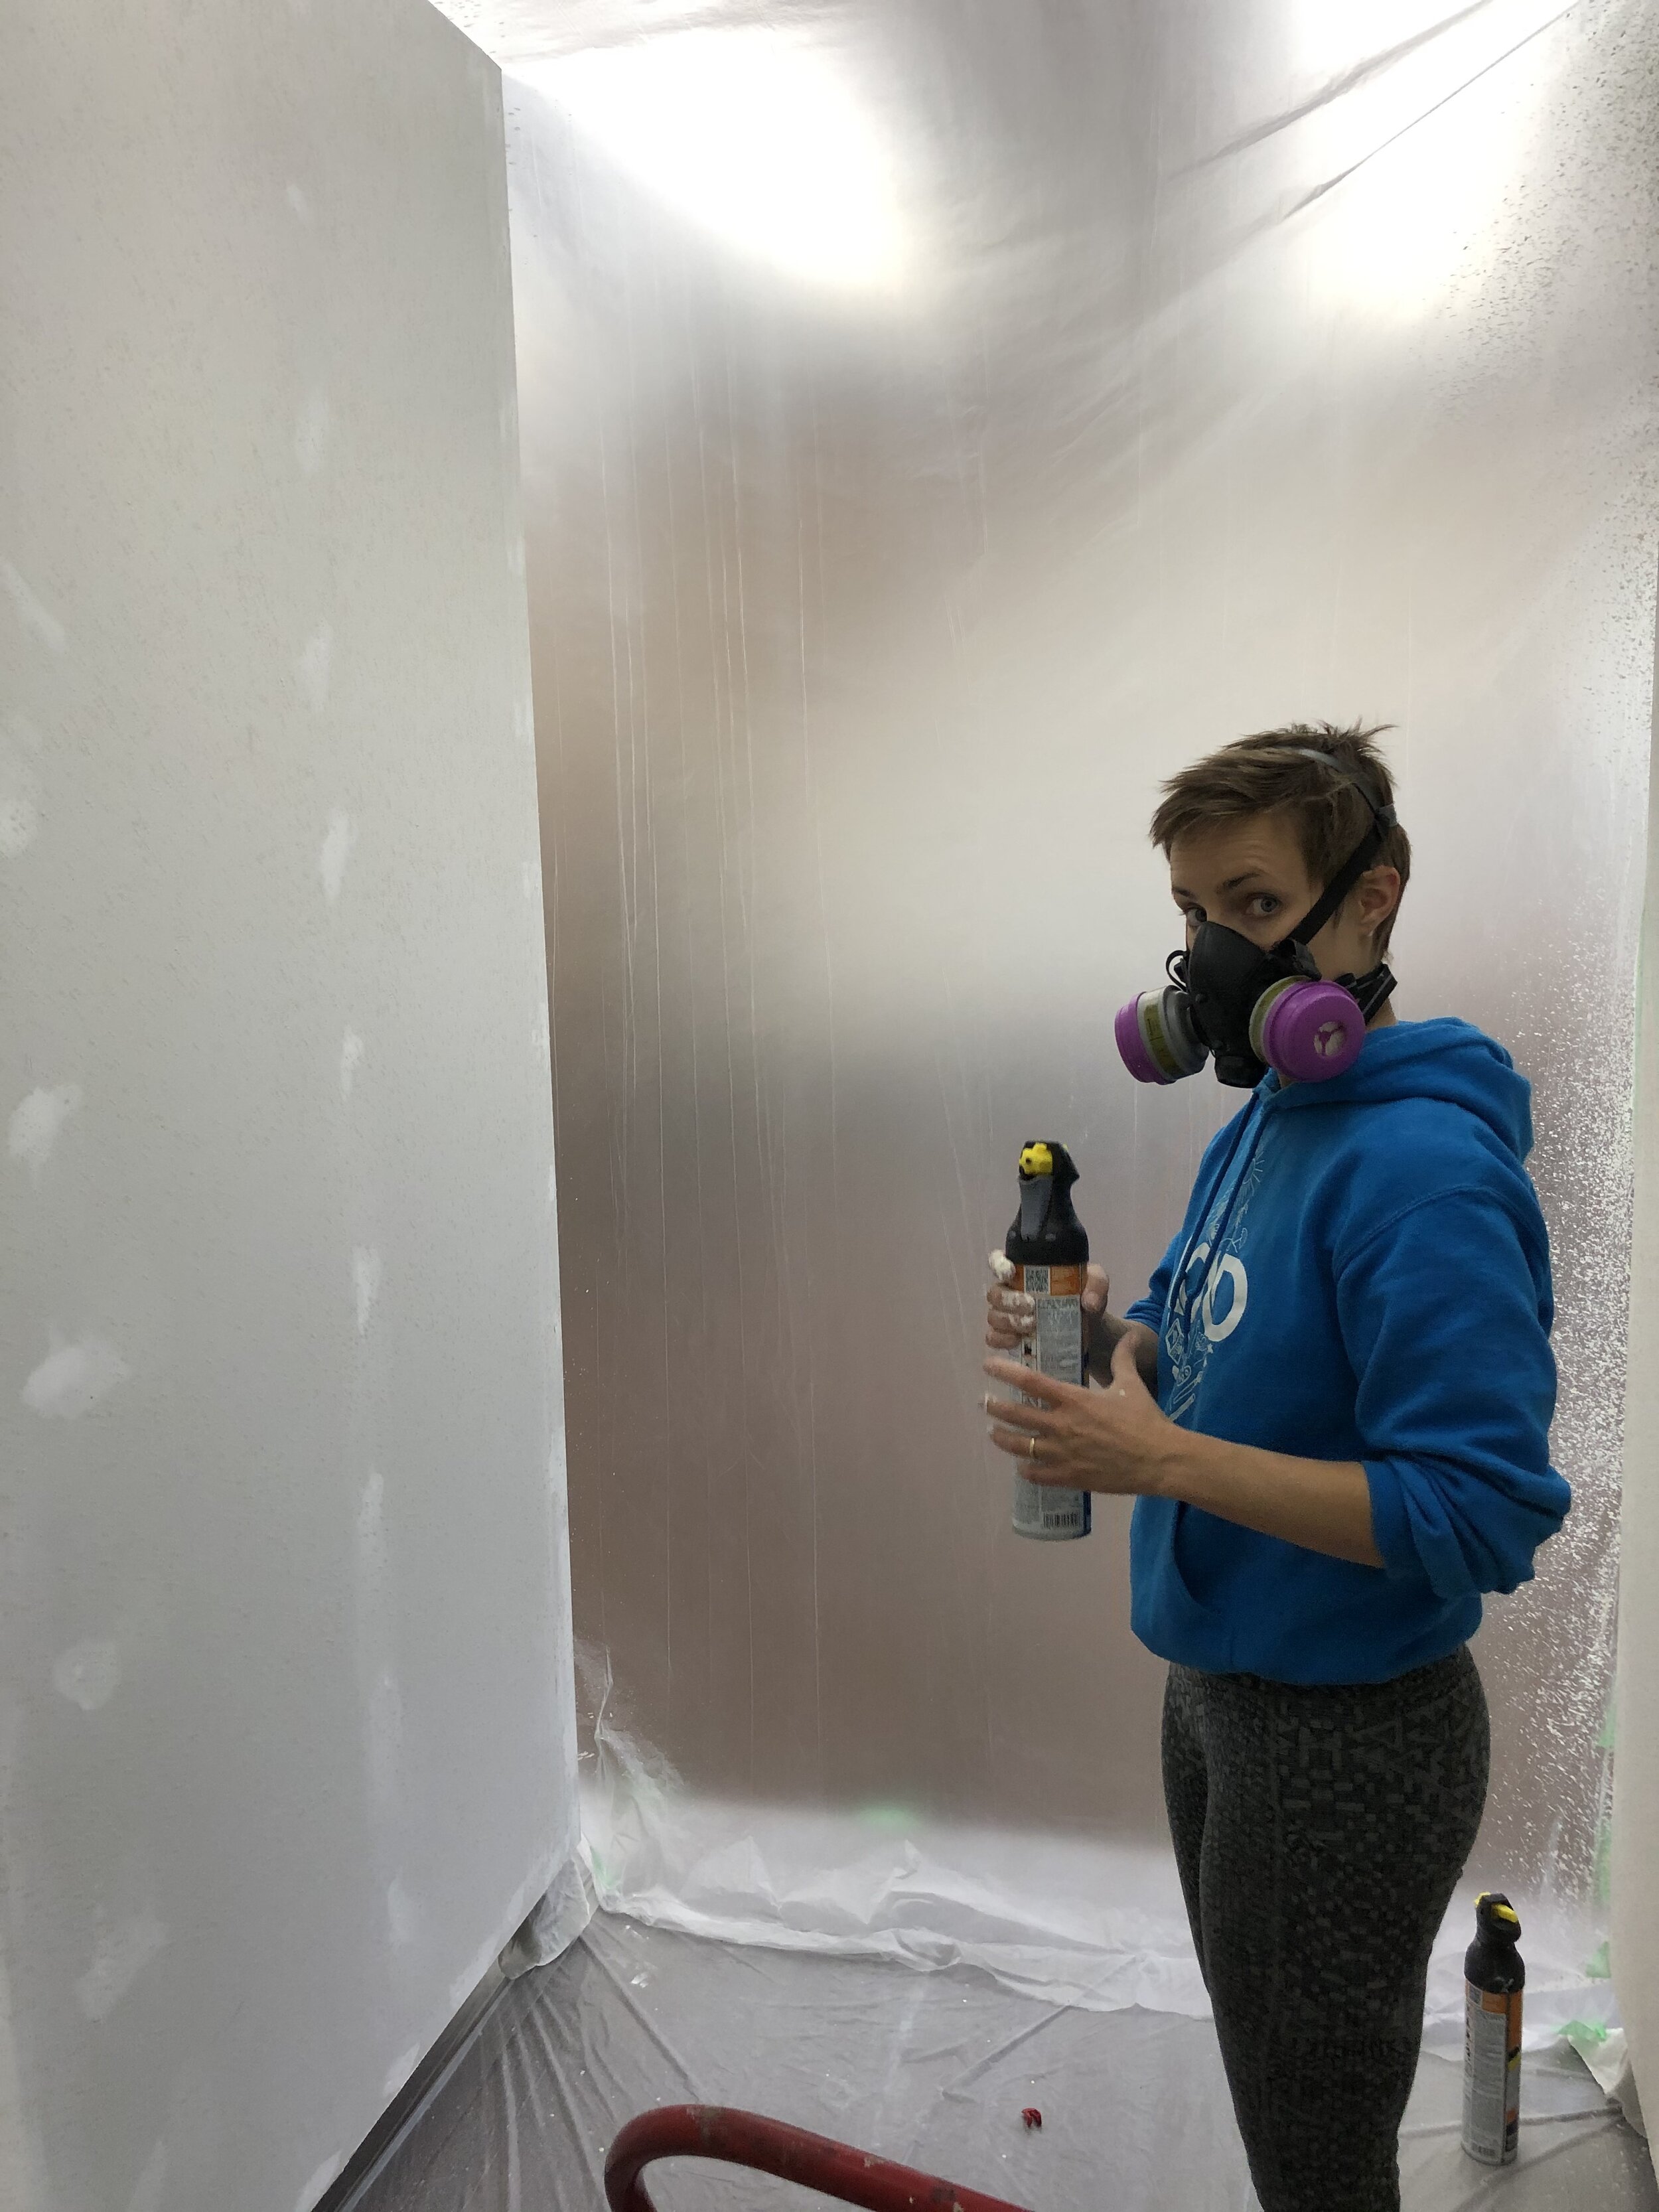
The projects that followed the model stand were not quite so effortless, but they are finally complete! The mobile storage walls pictured in my previous post are now finished, including a few hundred pounds of bottom weight for stability and carpeted inserts to cover the weights and keep any stored artwork safe from scratches. Drywalling, as it turns out, is something I would very much prefer to hire out in the future! But I now have a new skill set, and a few lessons I will certainly apply if I ever do it again. We elected to texture the white display side of the walls and paint the reverse—which will face into my studio—a flat middle grey to help mitigate the amber-green glow and reflections from the leafy limbs outside my window during the warmer months. I am delighted to see, now that the trees are letting their leaves go, that the more neutral winter light will be absolutely divine! What wonderful motivation to spend these snowy days in the studio painting. :)
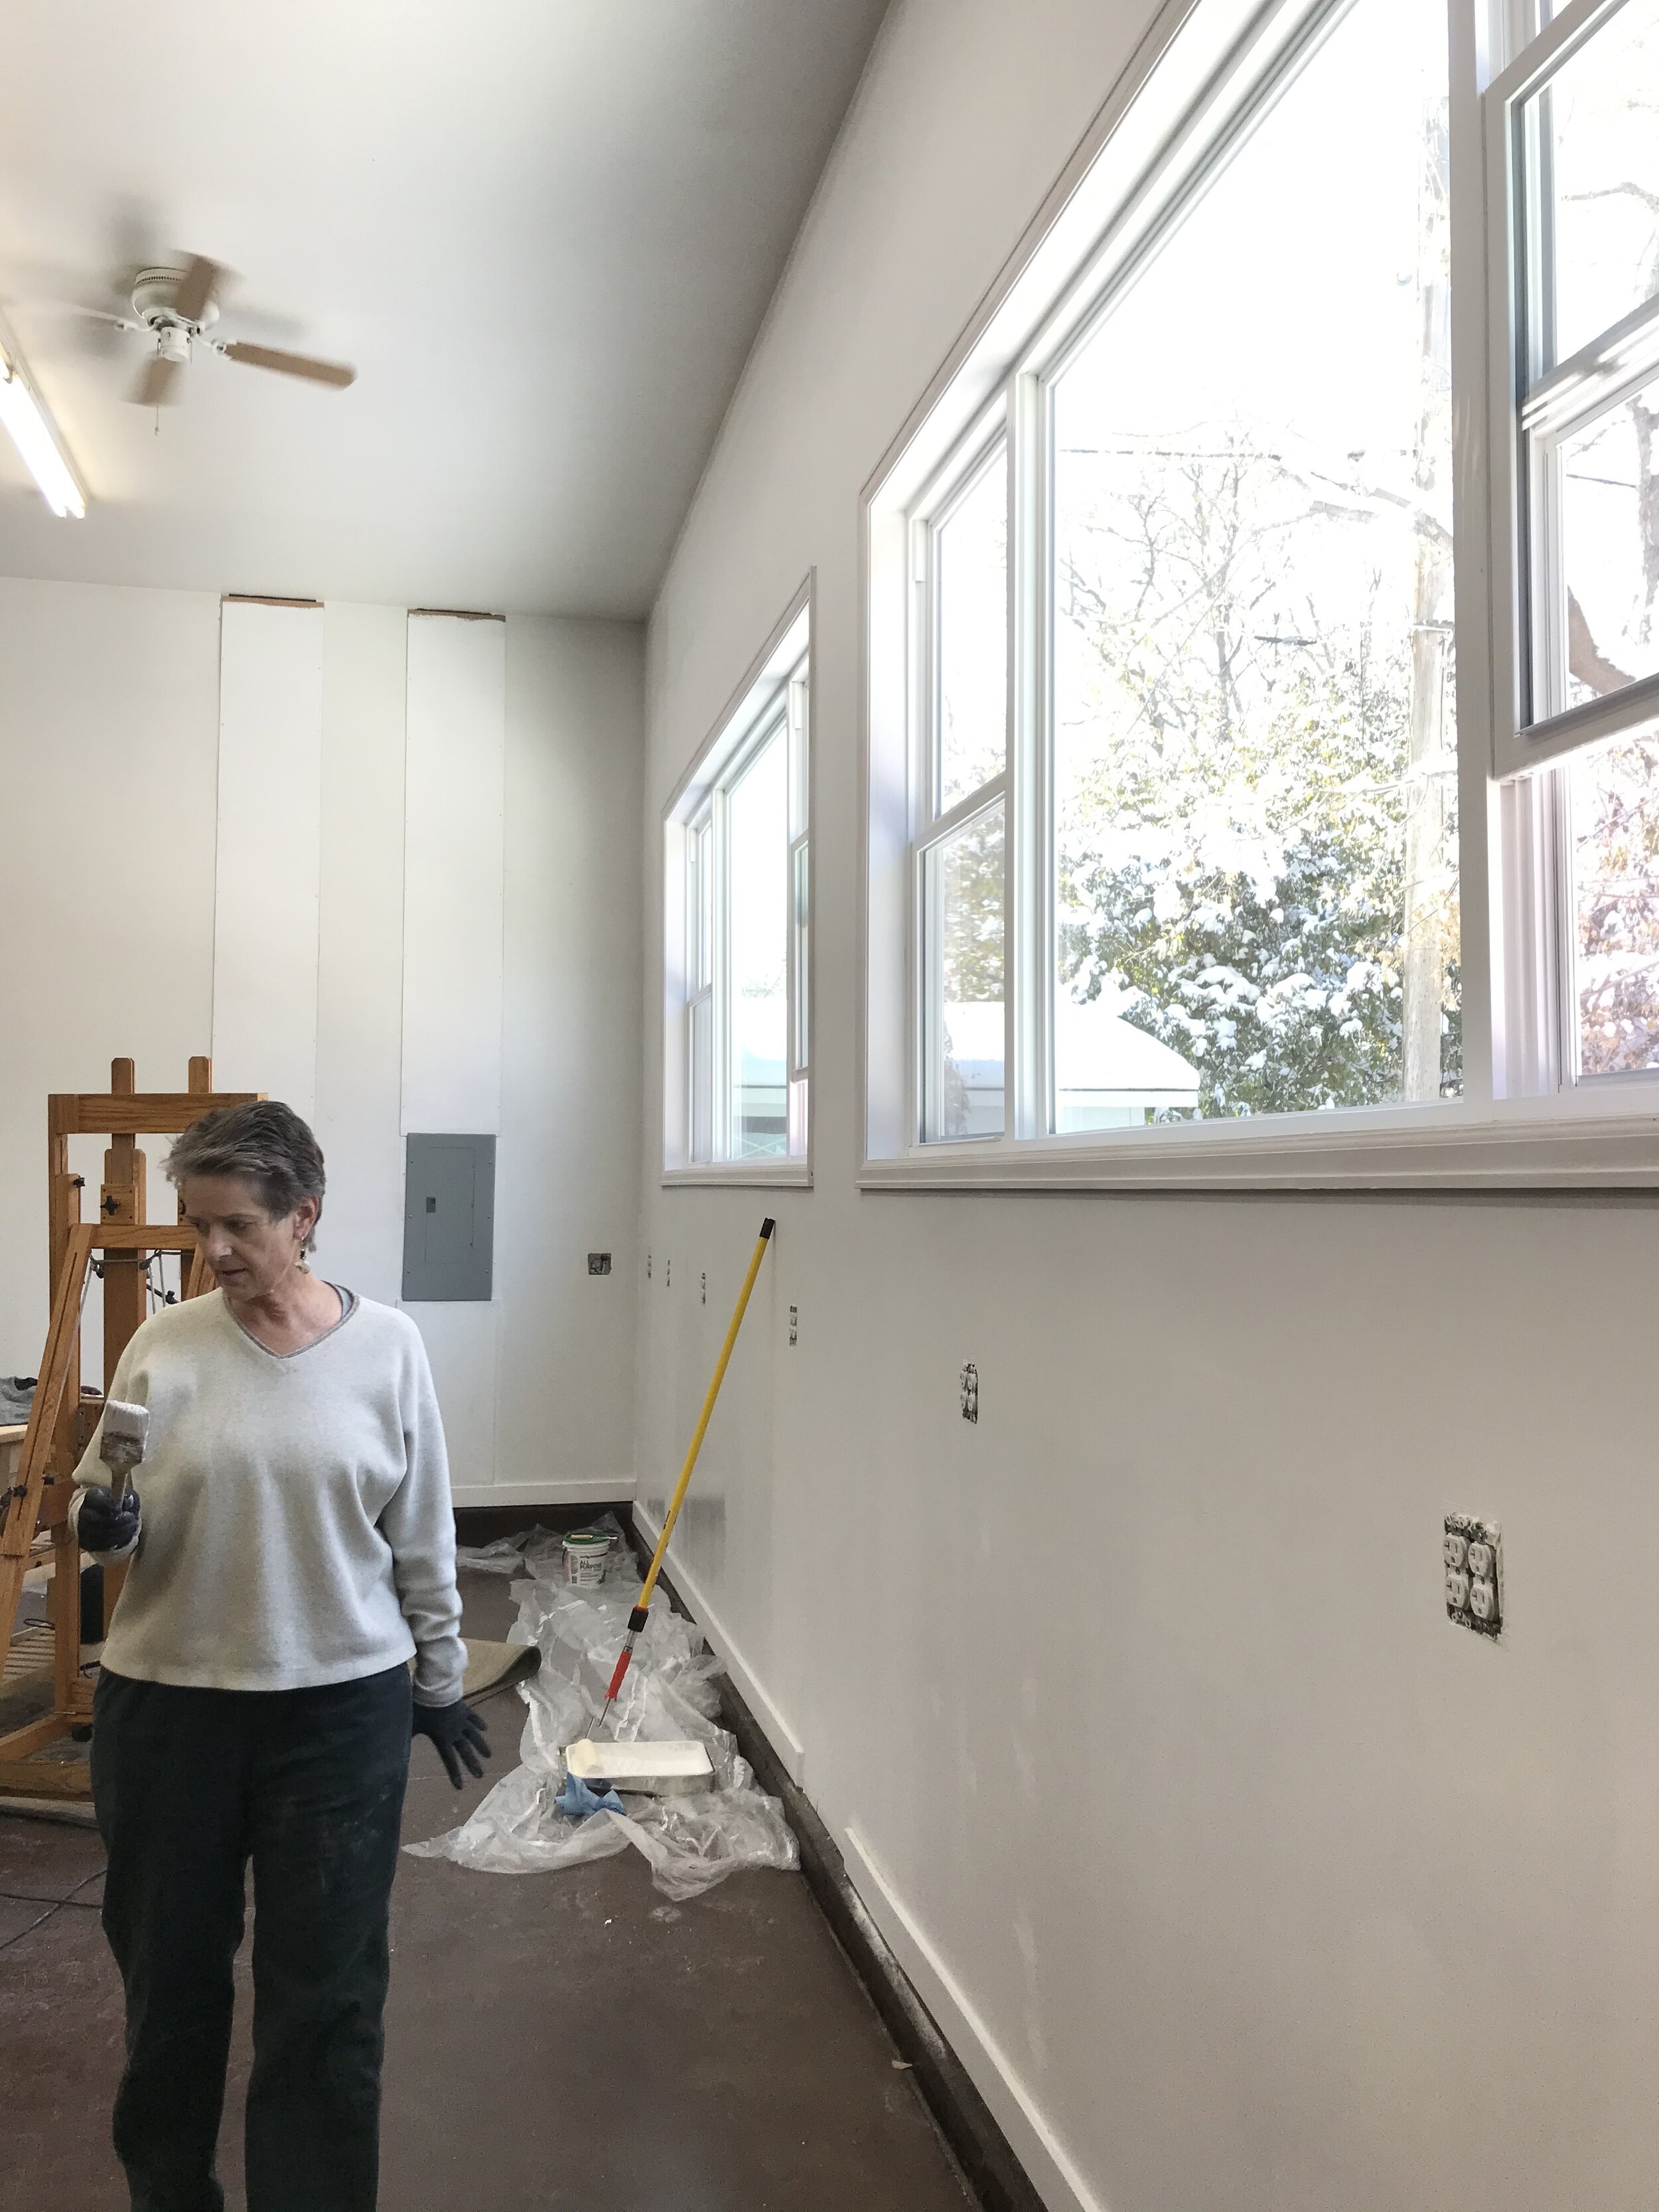
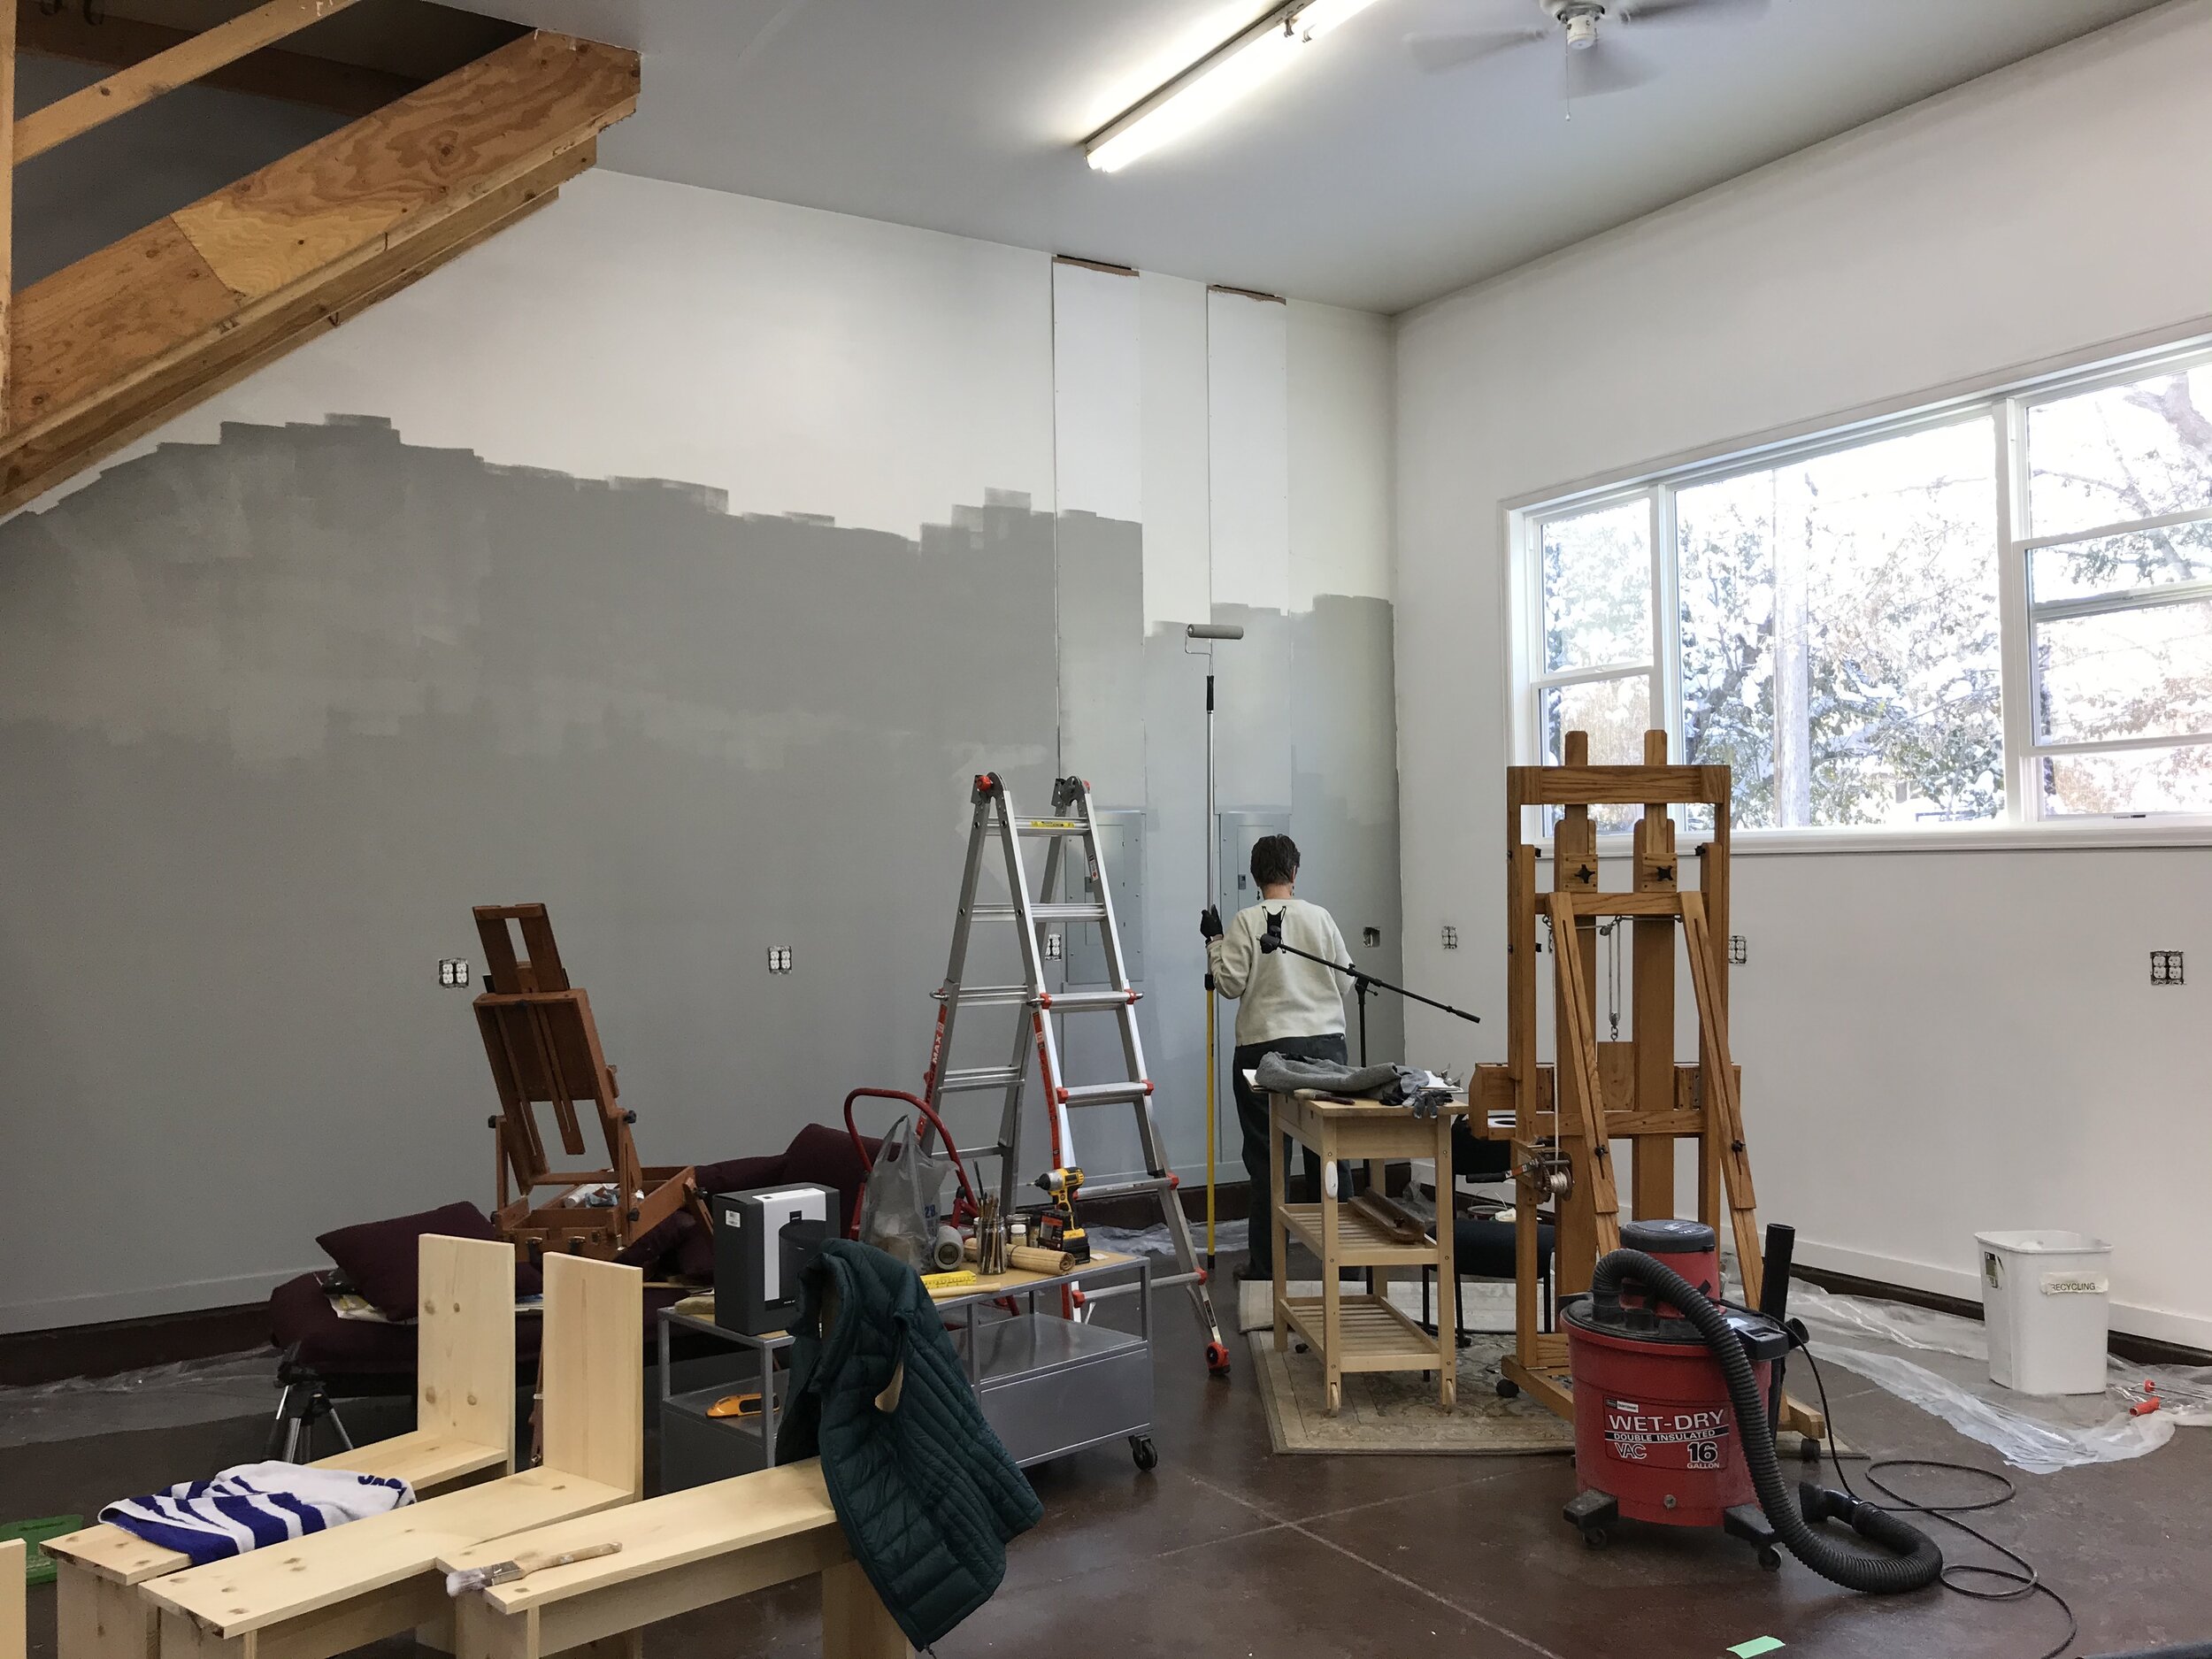
Since we were painting the mobile walls, we went ahead and painted a few of the main walls, too…one in my favorite new grey, and the other as part of the ongoing patch job after adding those glorious windows. Though it’s weirdly shiny paint, it’s pretty hard to turn down a five gallon bucket of free Valspar, unearthed from the mysterious depths of the crawl space and apparently left for us by the previous owners. It’s enough to paint the whole building. Maybe even twice. :D At long last, with significantly stronger wrists and triceps, we are calling the painting project finished!


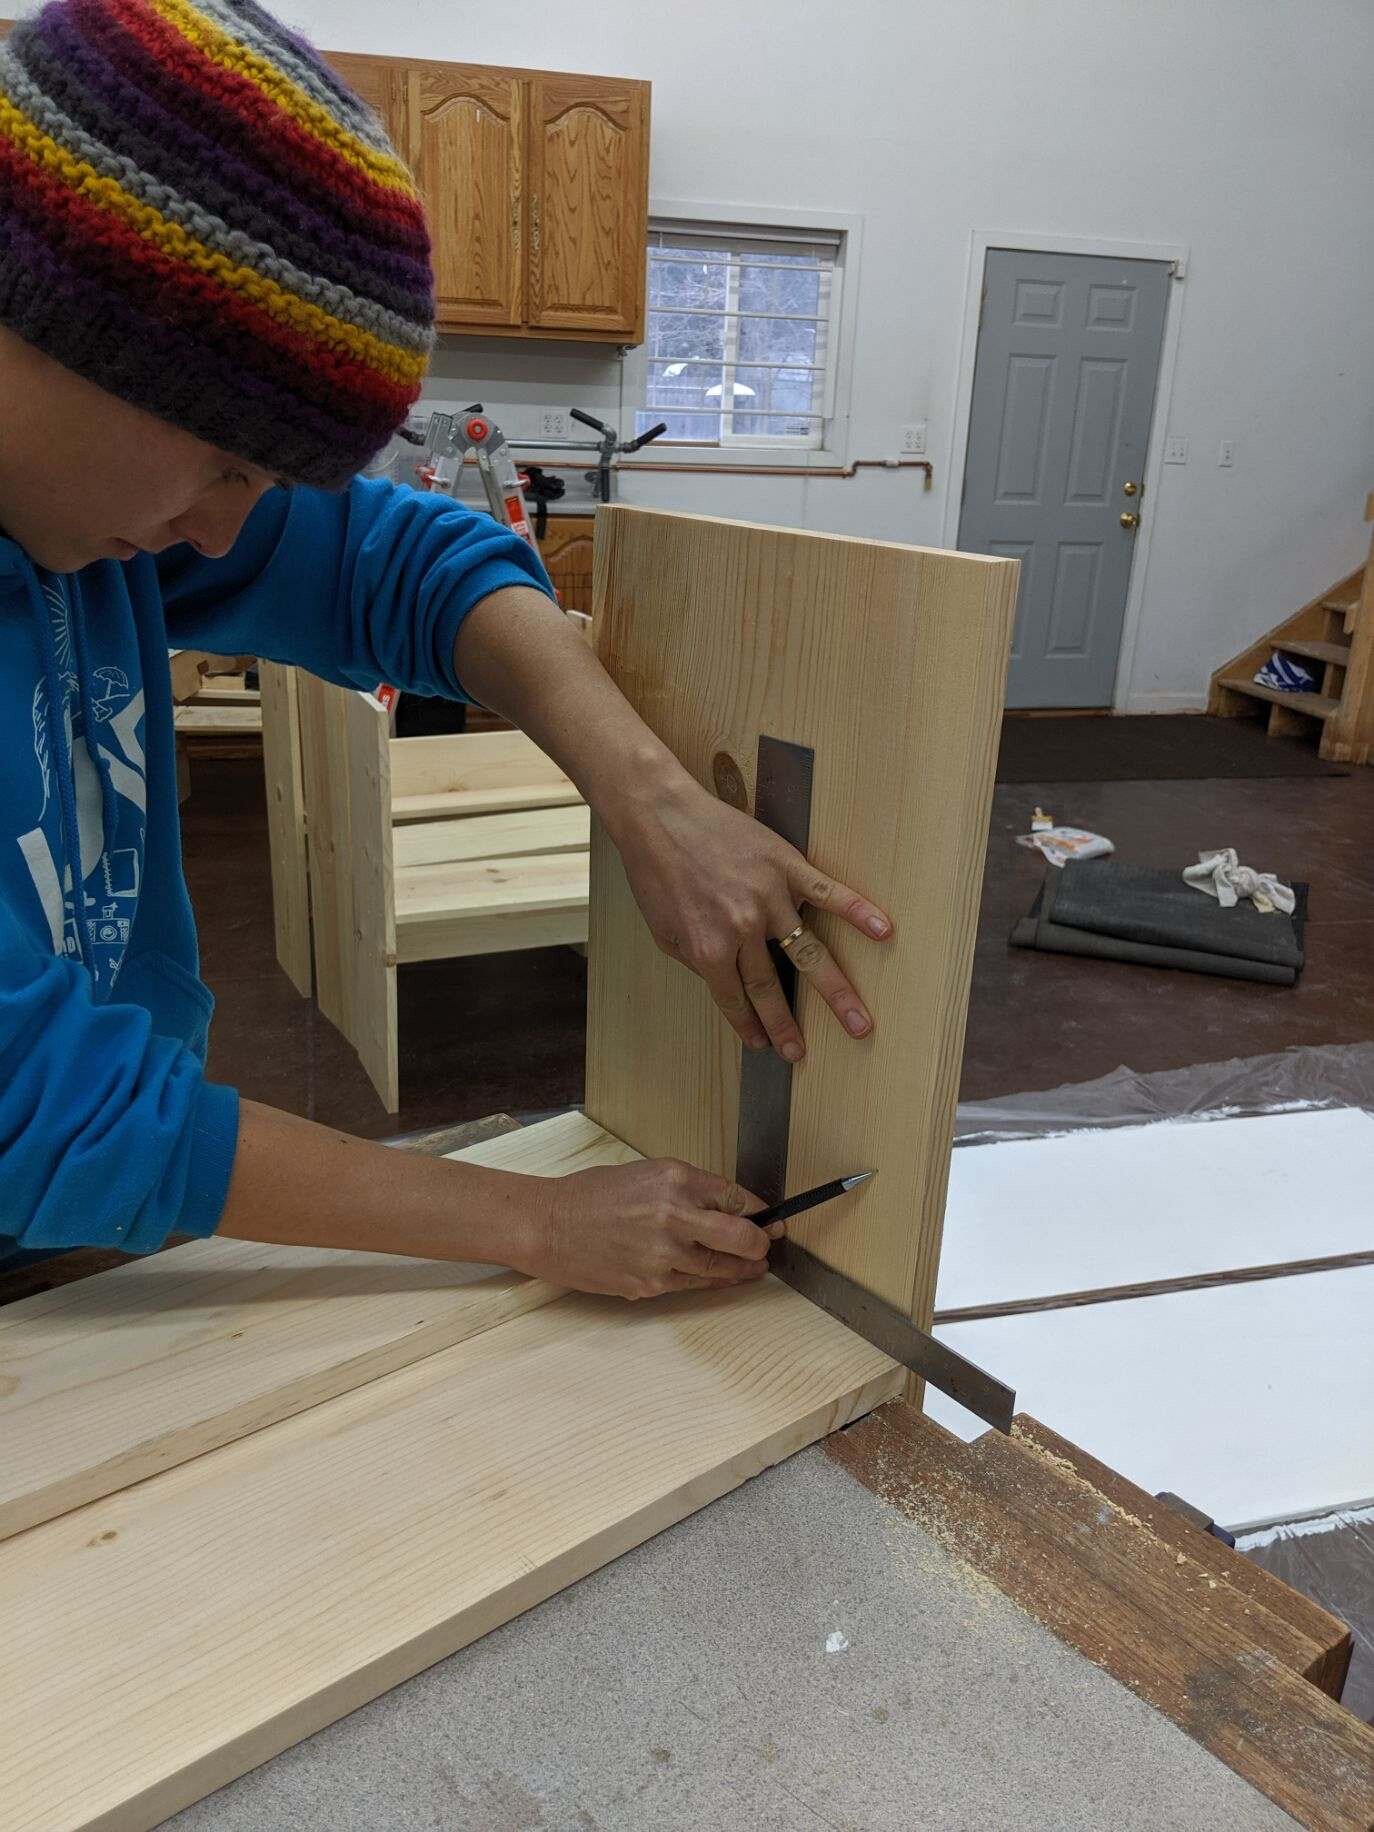
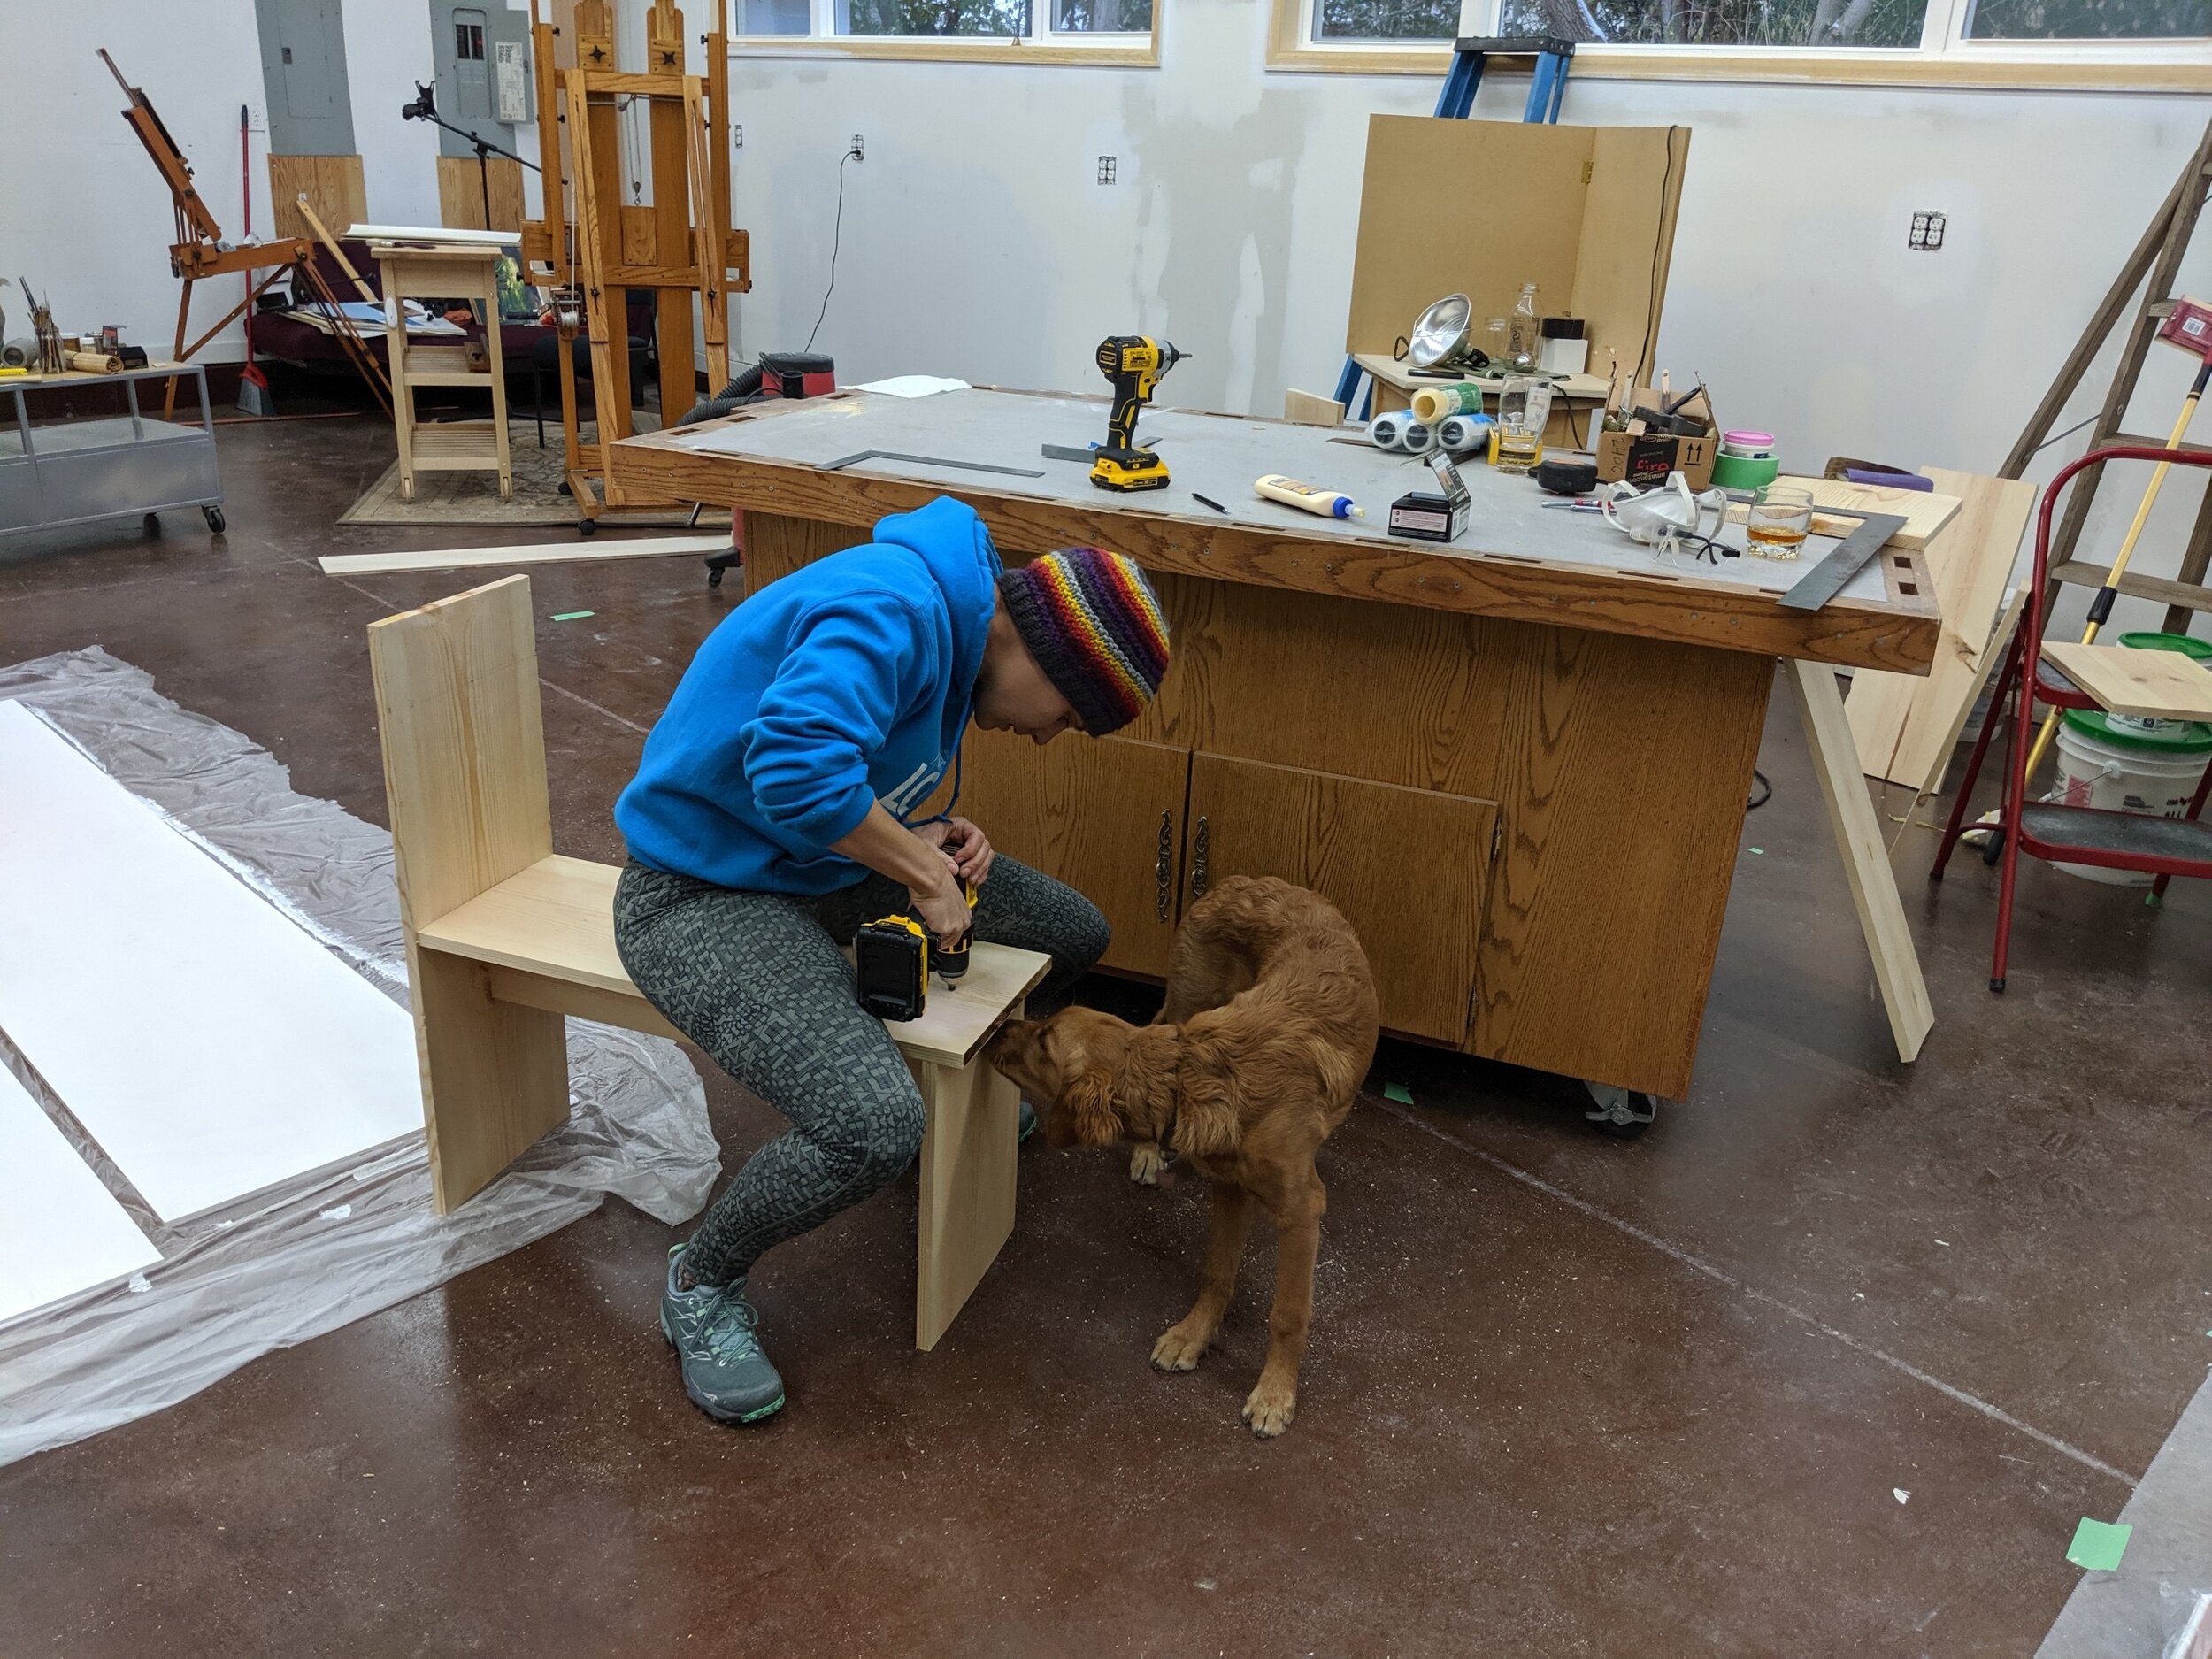
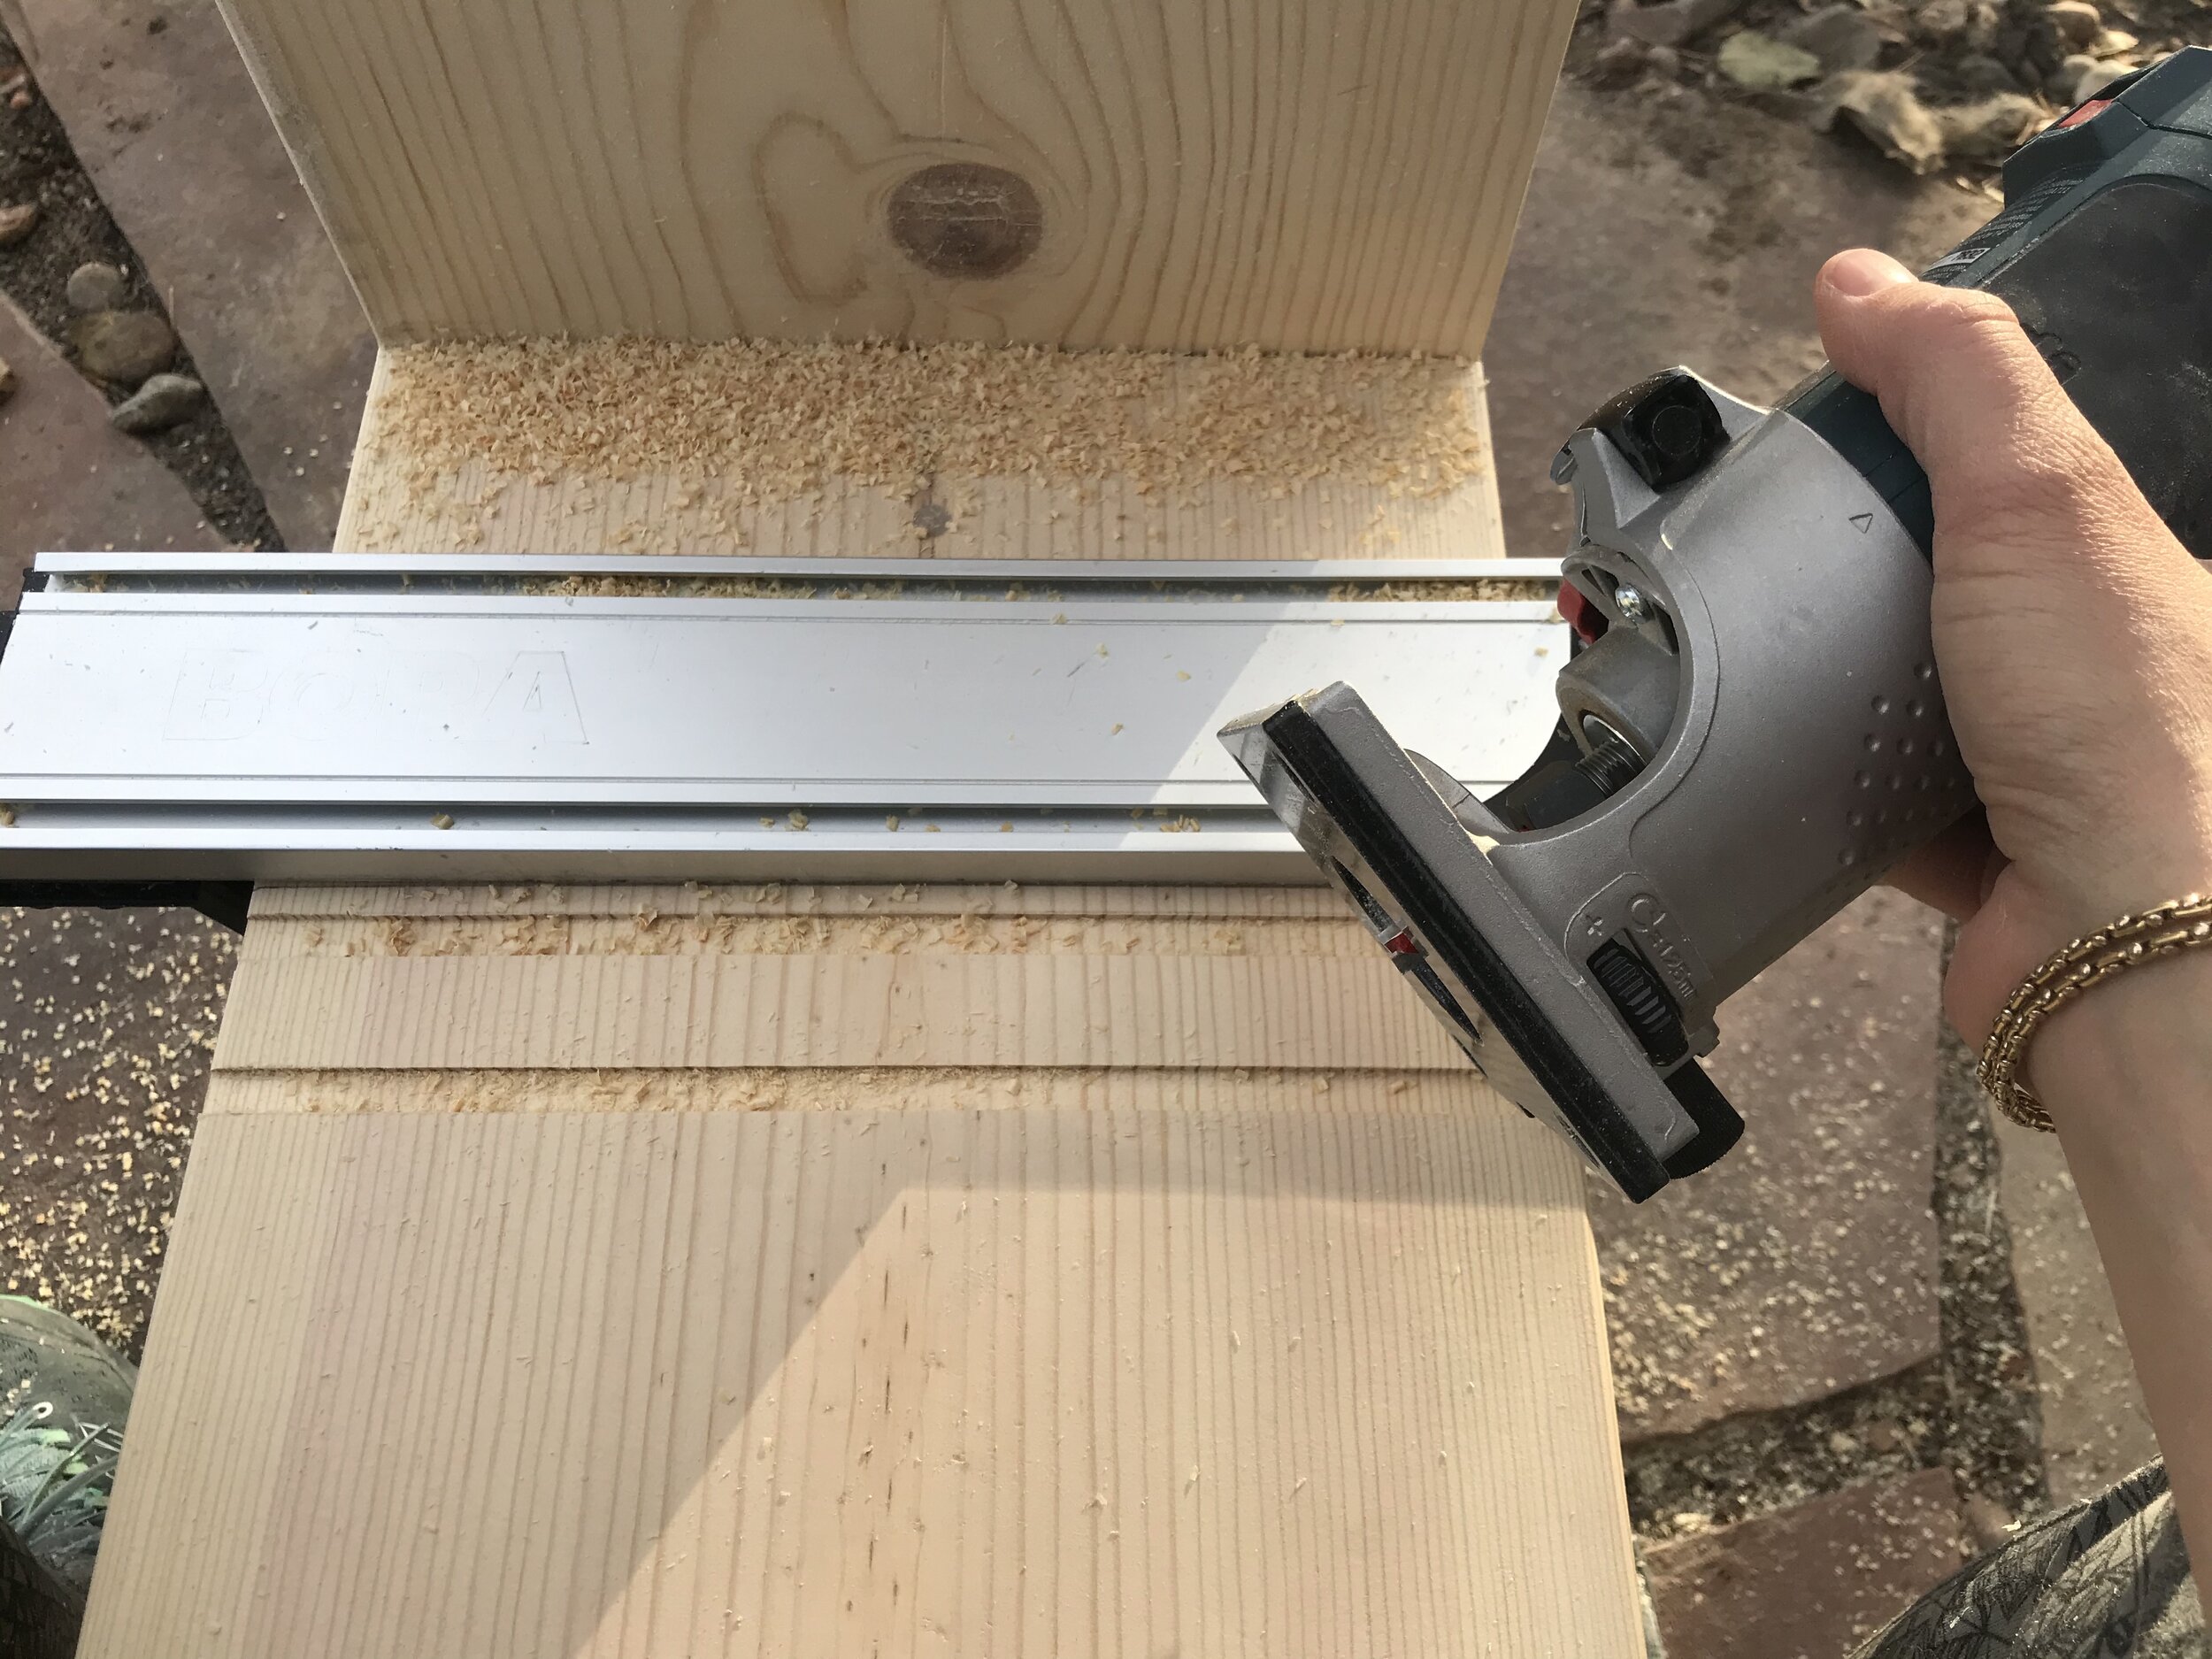
Finally, I’ve moved on to the drawing horses. A big task, but it will be wonderful to invite people over to draw and give them a place to sit. :) Cutting up the wood, ironically, was really the toughest part of the whole deal, since 8 ft planks are not particularly table saw friendly. They are also too wide for my chop saw, so….circular saw to the rescue. Making about 40 perfectly square cuts with a free floating saw and a clamp guide, whilst clamping the receiving and often warped wood down for each cut as well, takes some serious time. But eventually all the pieces were cut, with only two of the horses requiring a little planing on the bottom. ;) Assembly was a long business involving a square and a great deal of okay hold this really still by my long-suffering husband, who kindly helped me tame the warped pine last weekend. After filling all the holes and sanding off every sharp or splintery edge, I was finally ready to use the new toy I bought for the purpose: an exciting new router blade! (And actually it’s not a router that I use but a laminate trimmer, and it’s one of my favorite tools on earth. I have a few videos that show how I use this lightweight little device and a flush bit to make short work of cradled panels: all the finesse, and maybe a quarter of the work.)
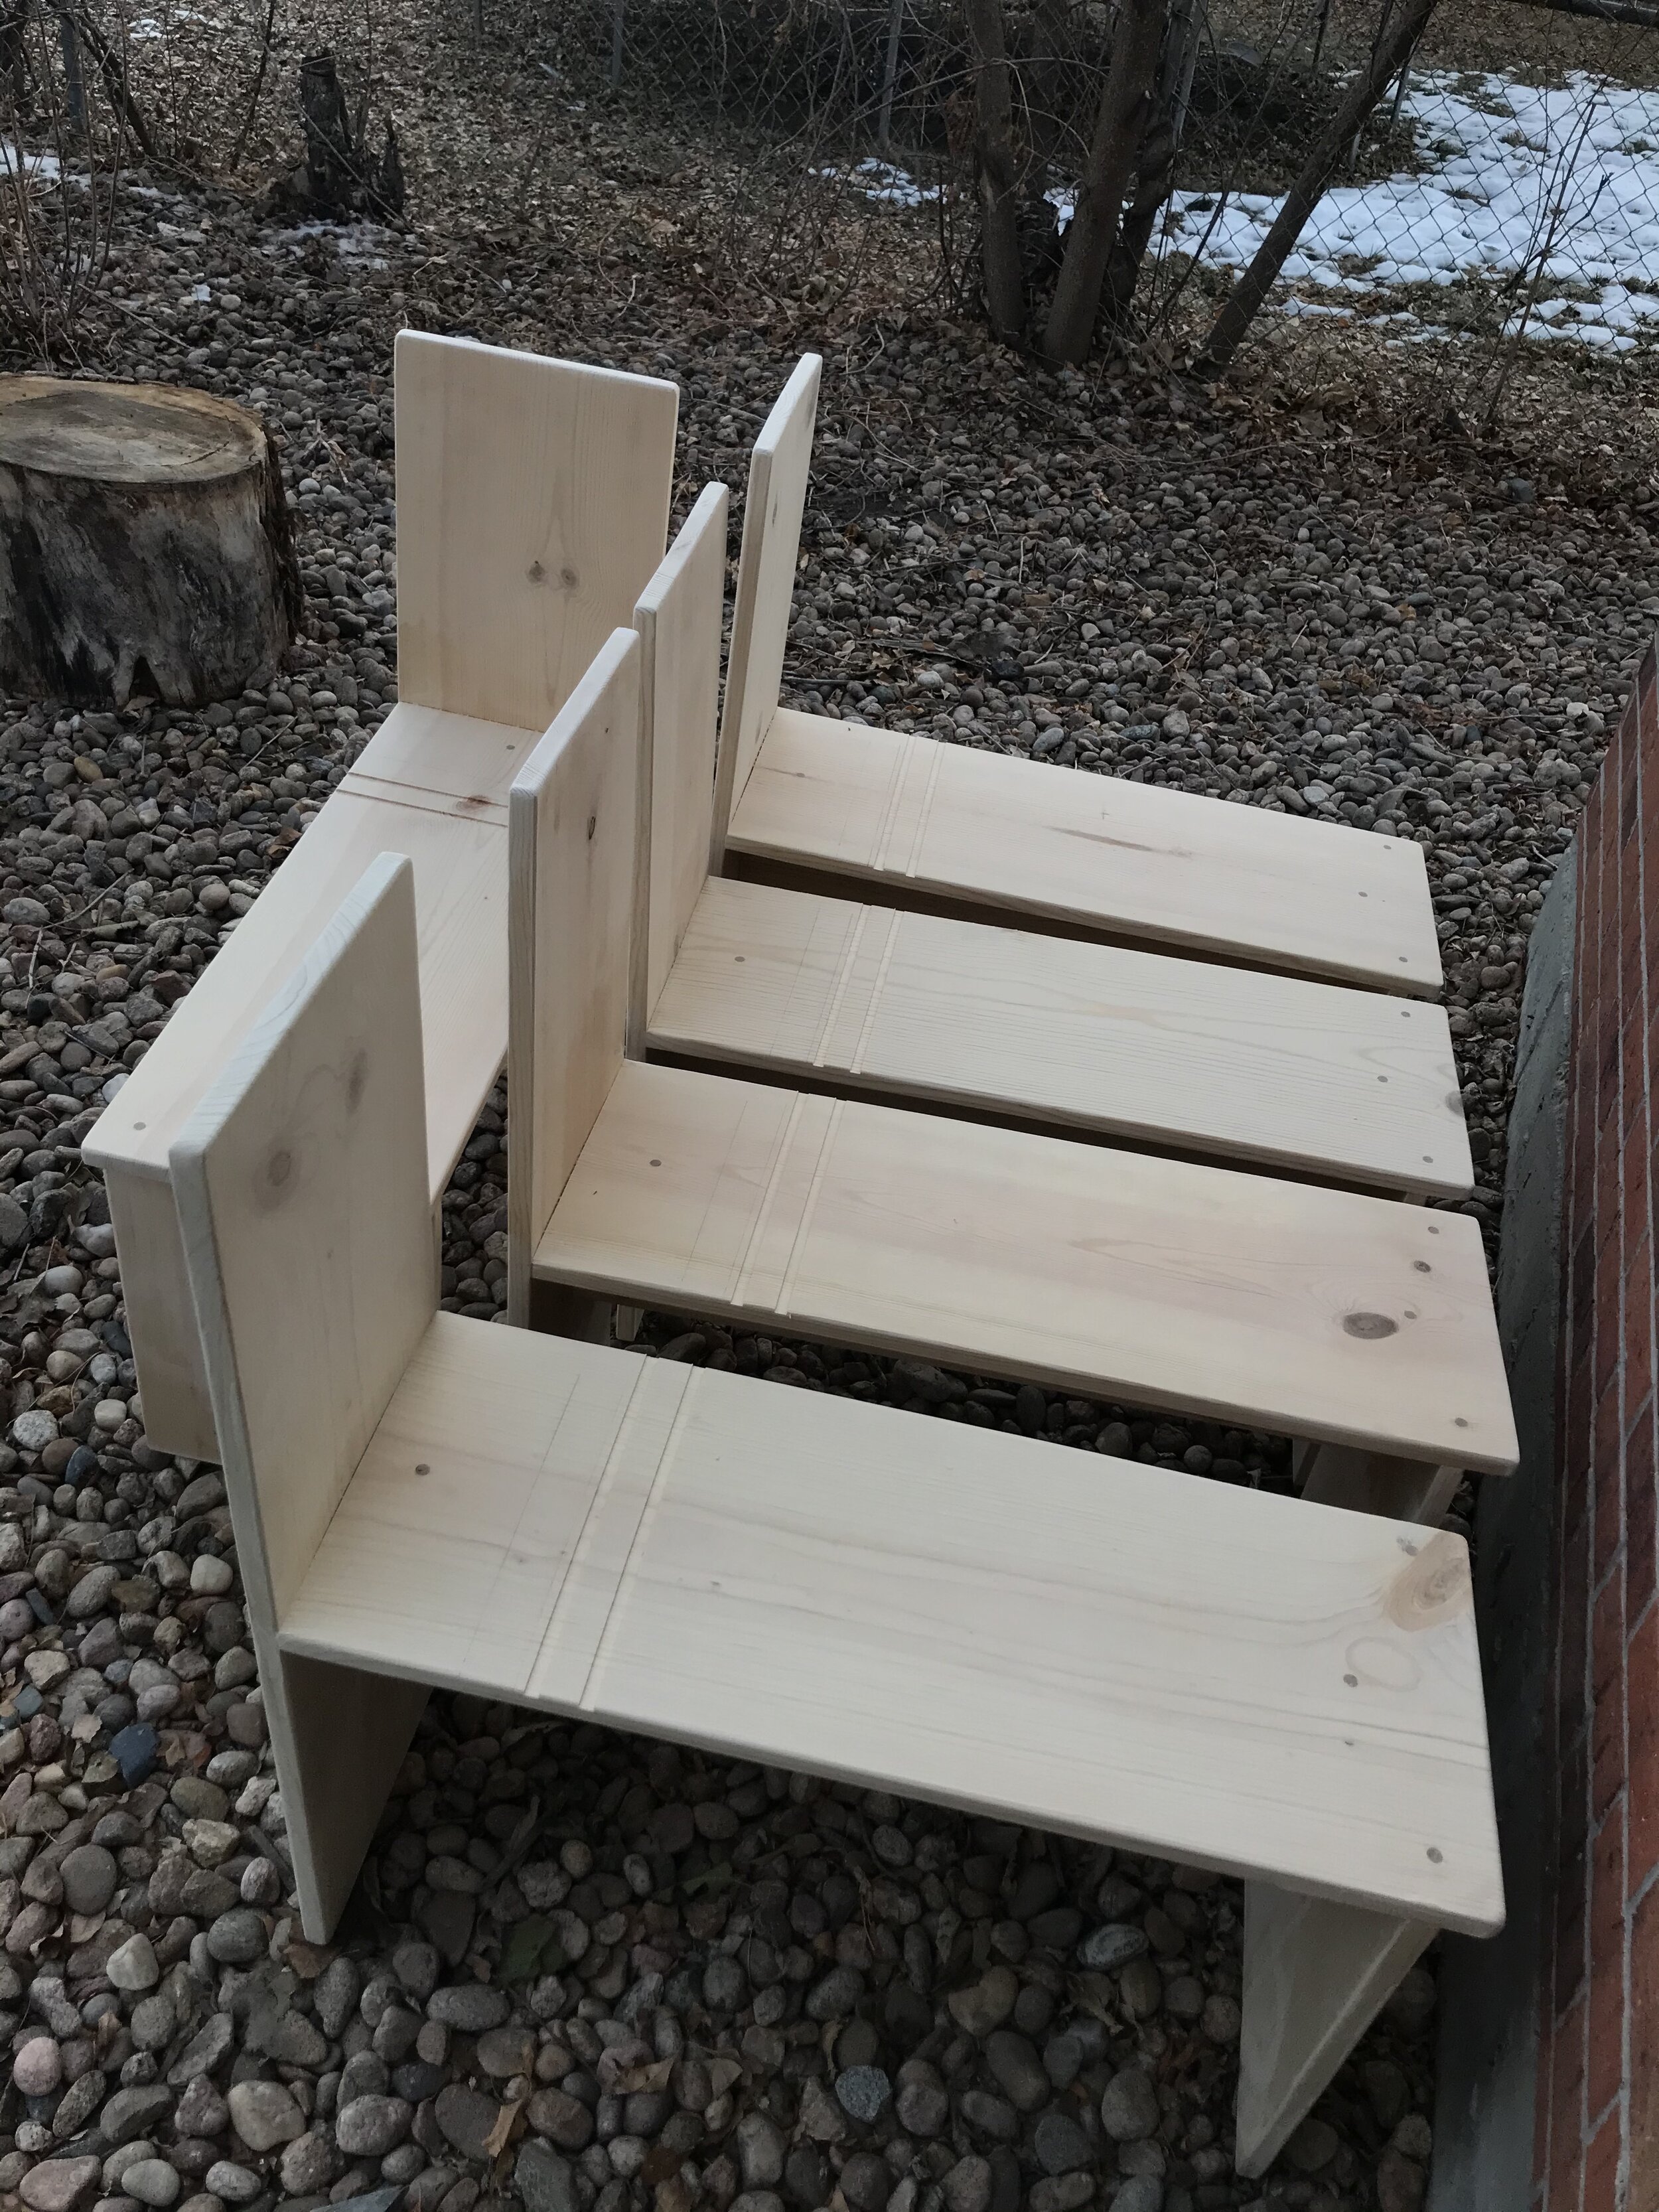
My new router blade smoothly and satisfyingly sliced the needed grooves into the horses, with the help of my handy clamp mechanism that I also used with the skill saw—and thanks to Brent Dilworth for that, the most utilitarian of gifts! The hoses are now grazing in the backyard, awaiting their date with 220 sandpaper today, and sealant tomorrow. More to come!